XModels Whisper
Not much building, rather a fairly simple assembly job. No major gotcha's to watch out for.
Assembly manual (Italian - was all I could find)
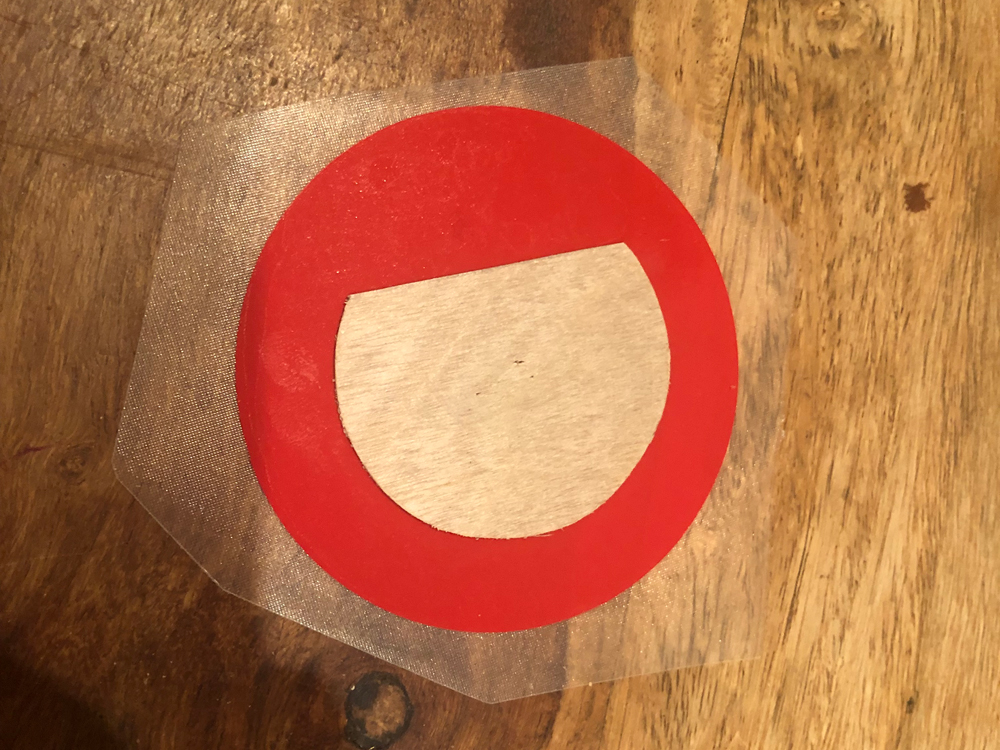
7. A few home made vinyl stickers to finish things off

View Details
View Details
View Details
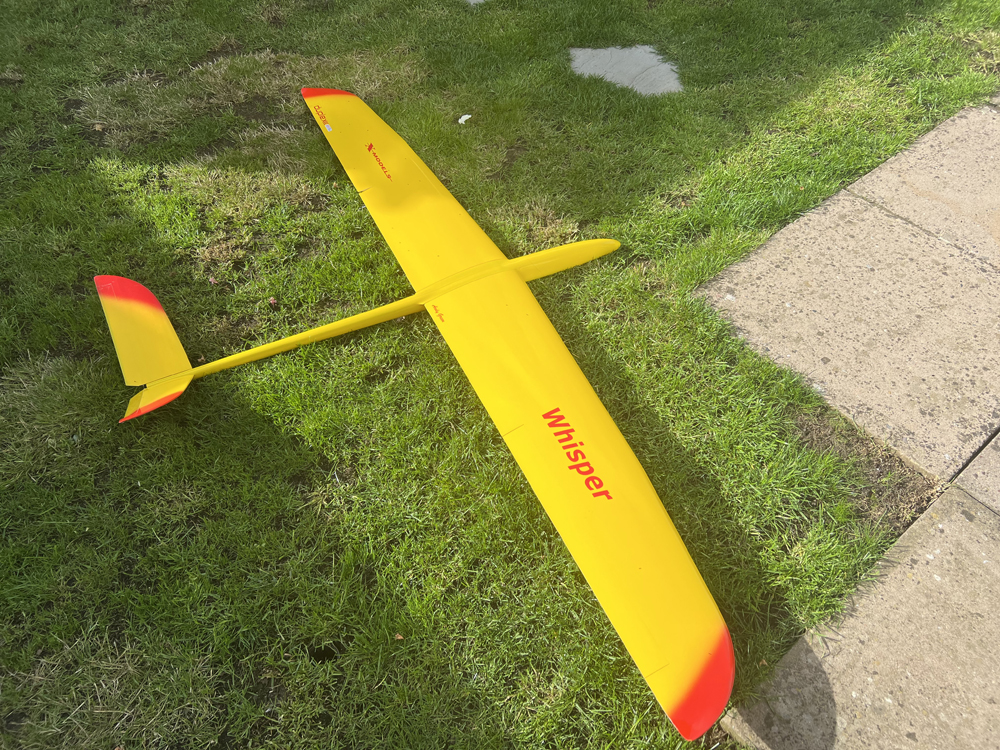
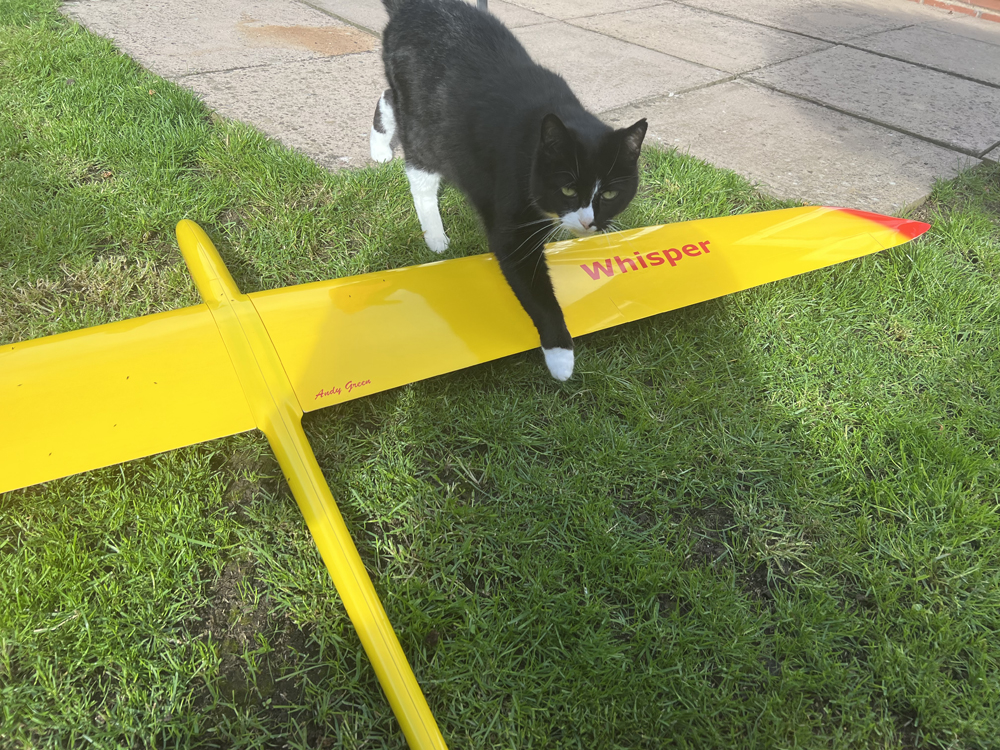
Complete model - even Griffon makes a rare appearance.
6. V Tail

View Details
Receiver is sitting on a lite ply plate, every fits nicely.
6. V Tail

View Details

View Details
V Tail horns made following the pattern in the manual, M2 ball links for the connectors. Each tailplane has been held in place with a dap of Fernox silicon.
5. Wing servos

View Details
View Details
View Details
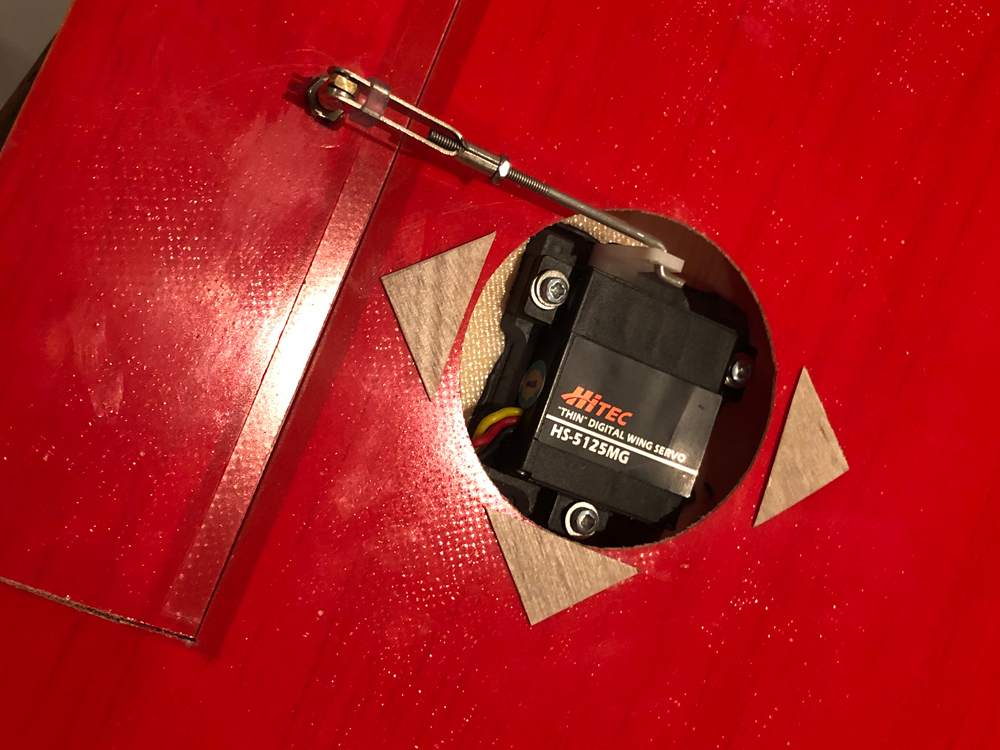
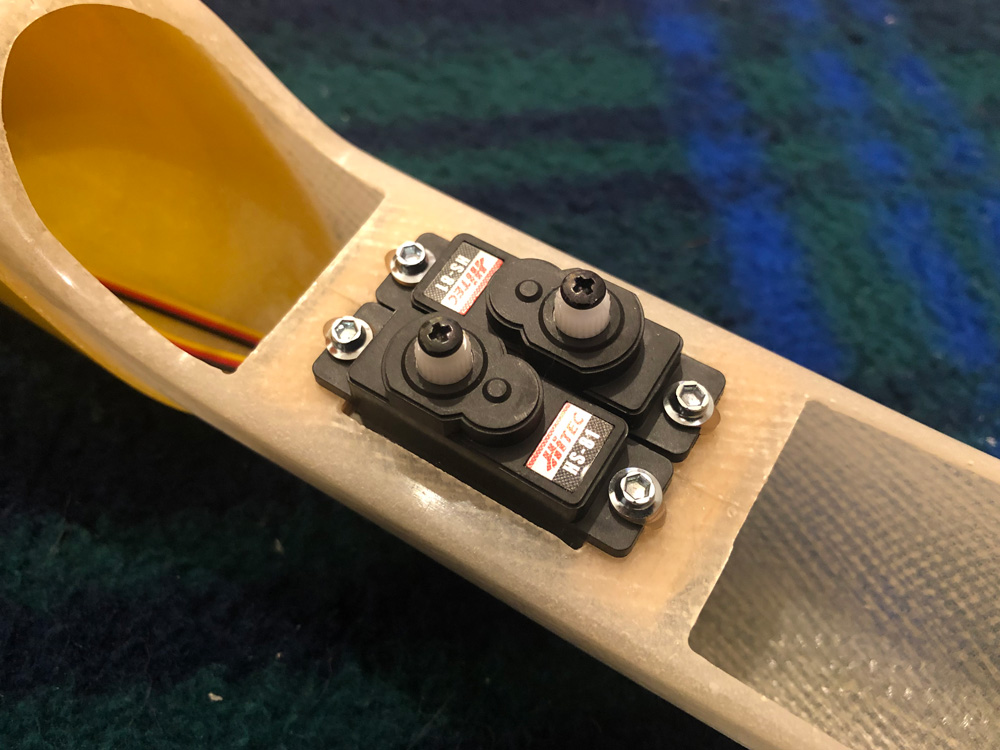
Servo screwed to the mount, now here I did hit a small problem, guessing some glue seeped in the screw holes, because when I tried to tighten the servo down onto the mount, I noticed the top surface of the wing start to whitness the screw. Luckily I spotted this, and added a couple of washers undeer the screws in the problem areas.
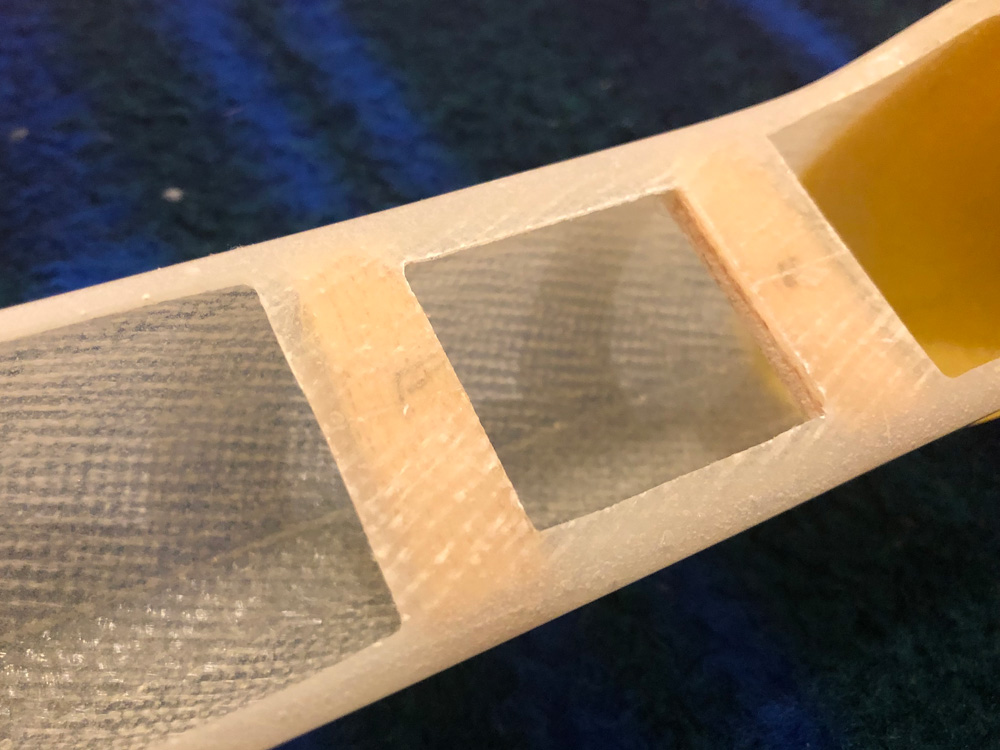
The servo covers were made from 1/32 ply cut to patch the hole, resting on fom triangle tabs, and held in place with some circular cut vinyl. The pushrod and horn will be in the airflow, but that'll be OK.
The servo covers were made from 1/32 ply cut to patch the hole, resting on fom triangle tabs, and held in place with some circular cut vinyl. The pushrod and horn will be in the airflow, but that'll be OK.
4. Wing servos
View Details

View Details
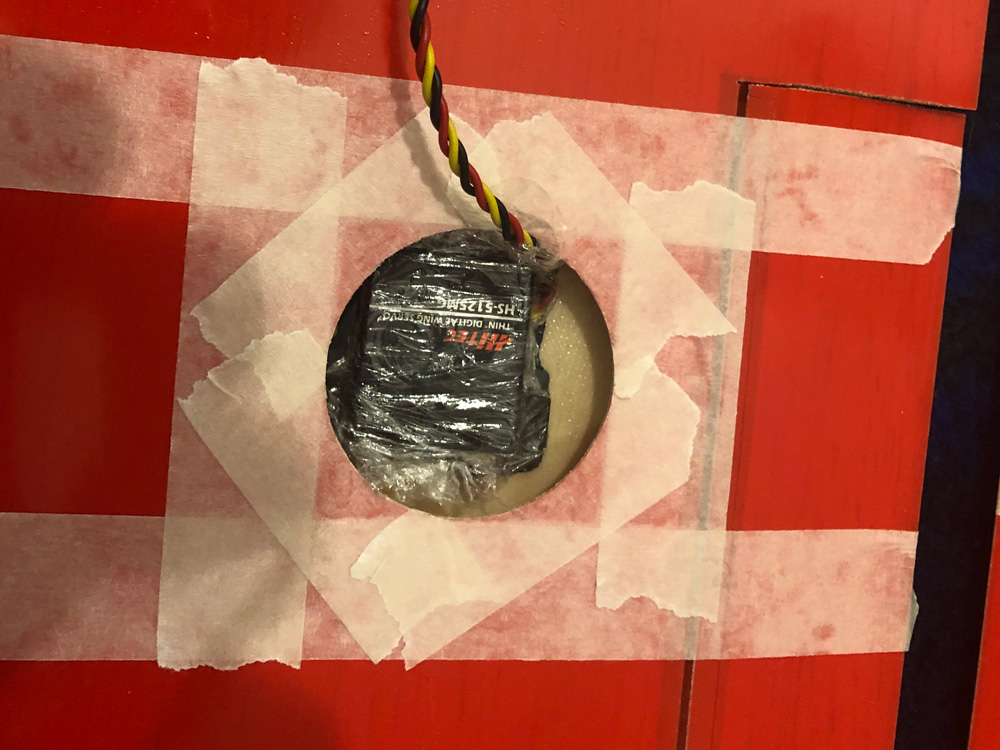
HS 125's used for the ailerons. I happened to have some propper mounts, these were glued in, again with JB Weld. The servo was wapped in cling film and positioned in the mount to get the exact location within the wing. Plenty of masking tape to mark the position and keep any glue off the skin surface.
3. Aileron horns

View Details

View Details
The screw type horns utilise M3 treaded inserts that were glued into the aileron with JB Weld epoxy. There is a generous amount inside the aileron to try to spread the load, as there in nothing else inside the moulding.
2. V Tail servos
View Details
View Details
View Details
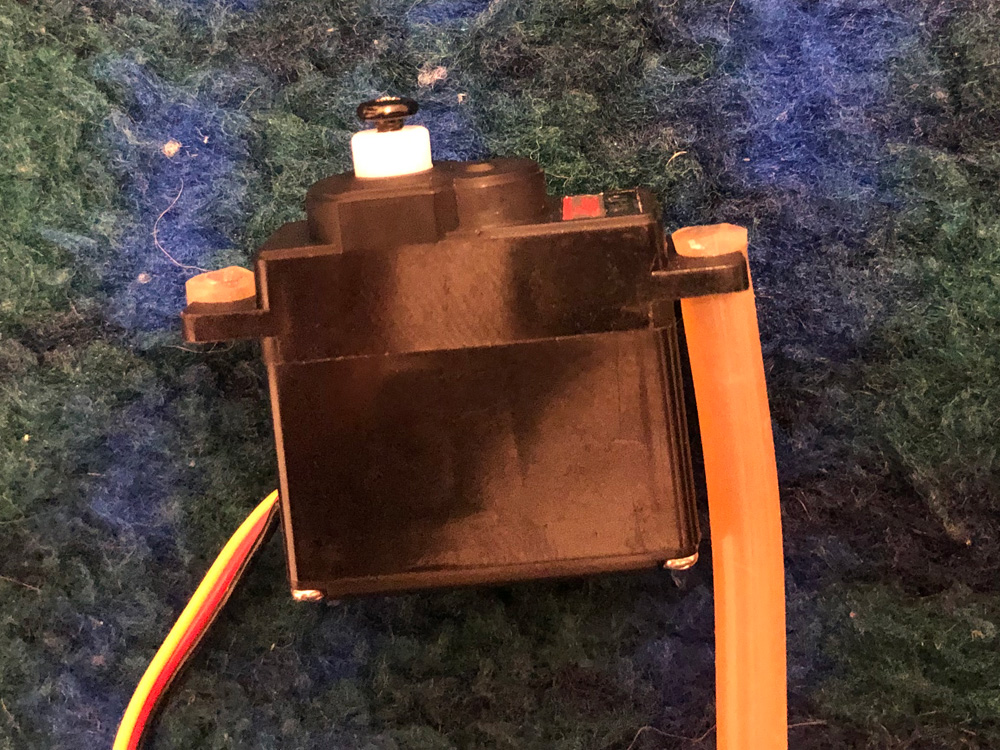
A pair of HS81's for the V Tail. I use Silicon fuel tubing for the grommets.
1. Bits

View Details
Happy to pick up a relativly cheap Whisper on the BMFA Classifieds. Was missing the 8mm wing joiner, but pick up some steel bar from Nogin end metals again cheaply. (Seems to be a theme here)
No instructions but managed to find some in Italian, pictures are self explanatory. (Link at top)
No instructions but managed to find some in Italian, pictures are self explanatory. (Link at top)