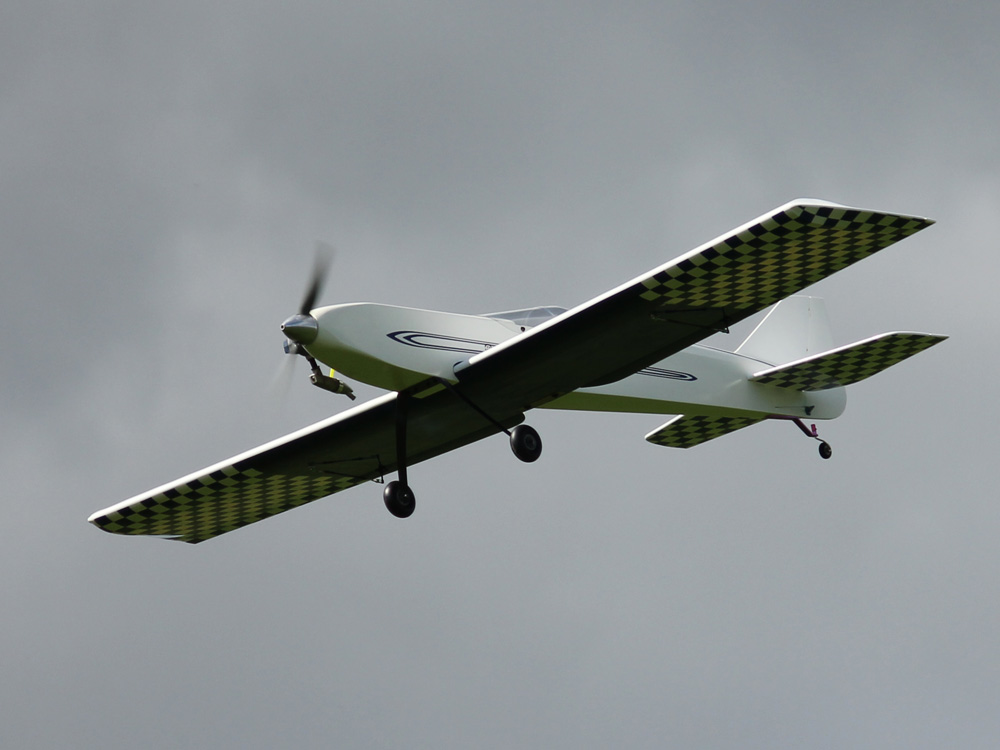
Venture 60
20. Complete model, flight pics are from maiden.

View Details
View Details

View Details
First flight, nothing at all to worry about. Just have to spen the next dozen glights getting it dialed in.
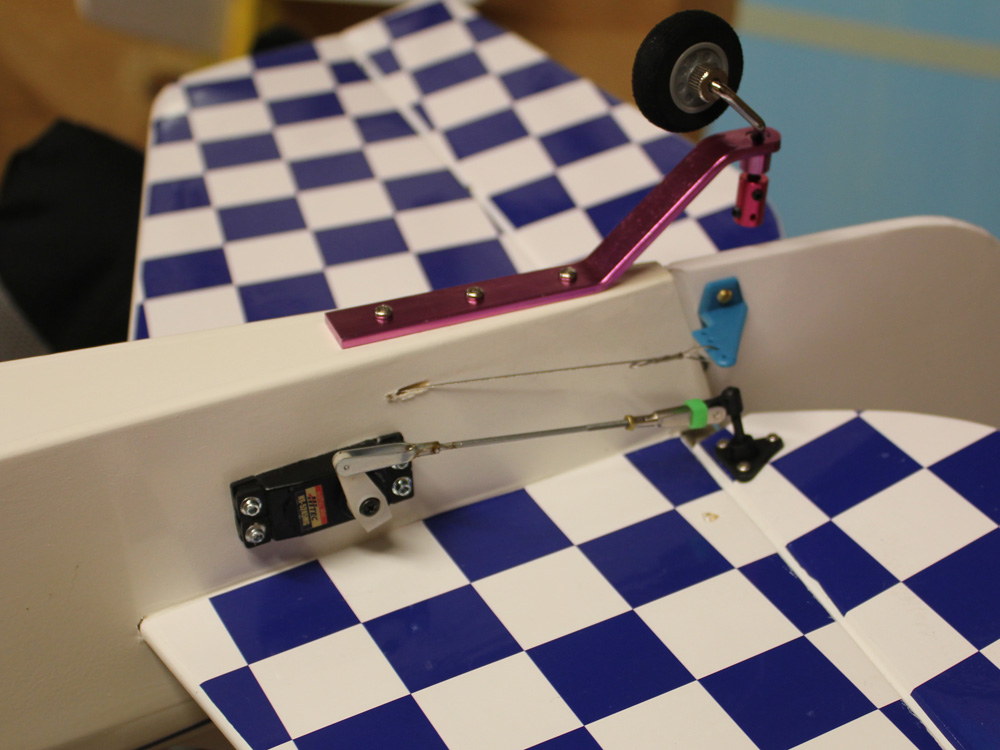
19. Installation

View Details
View Details

View Details
Plenty of room for a neat install.
19. Finishing underway

View Details
Fuselage covered, and tail fitted.
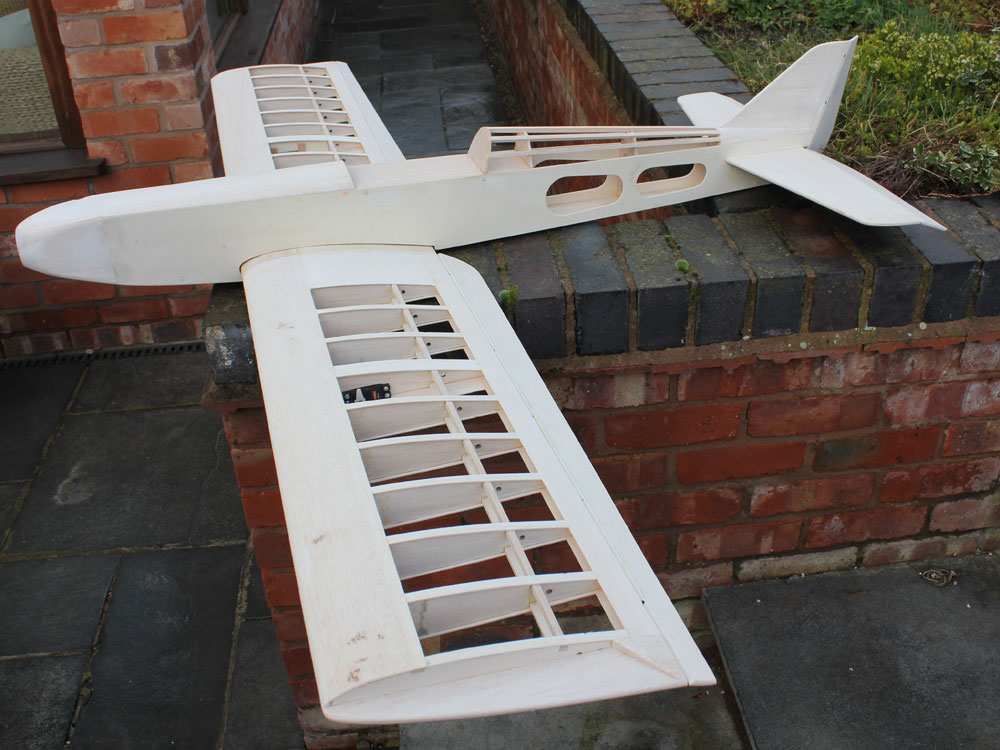
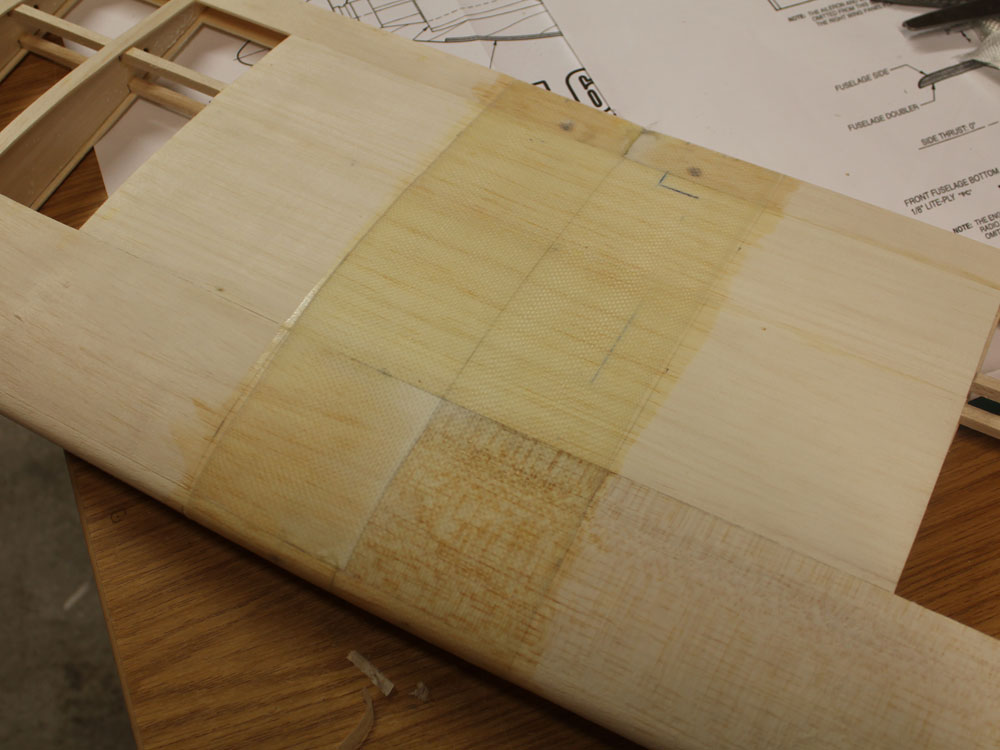
18. Ready for covering
View Details

View Details

View Details
Fuselage will be covered with Oratex, sprayed and 2 pack fuel proofed, and the wings Profilmed (Oracover).
17. Canopy

View Details
I have an old canopy from a Mystic 75 I think, I've given up on trying to glue canopies in place these days, what I do now is screw them in place with M3 screws, using these inserts. Great for cowls too.
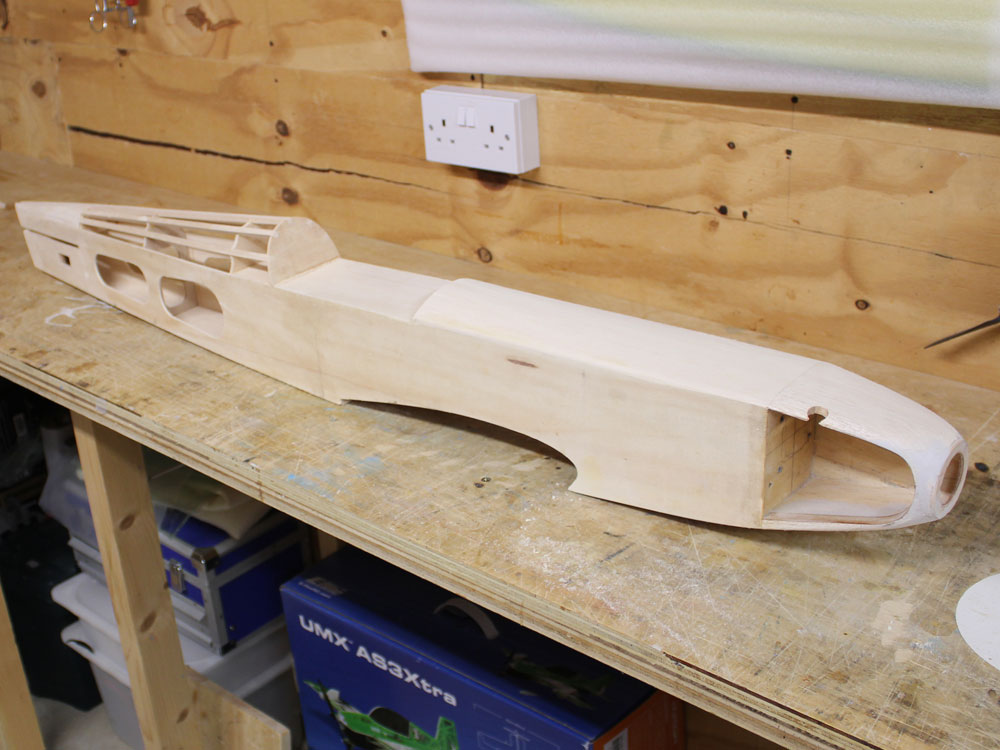
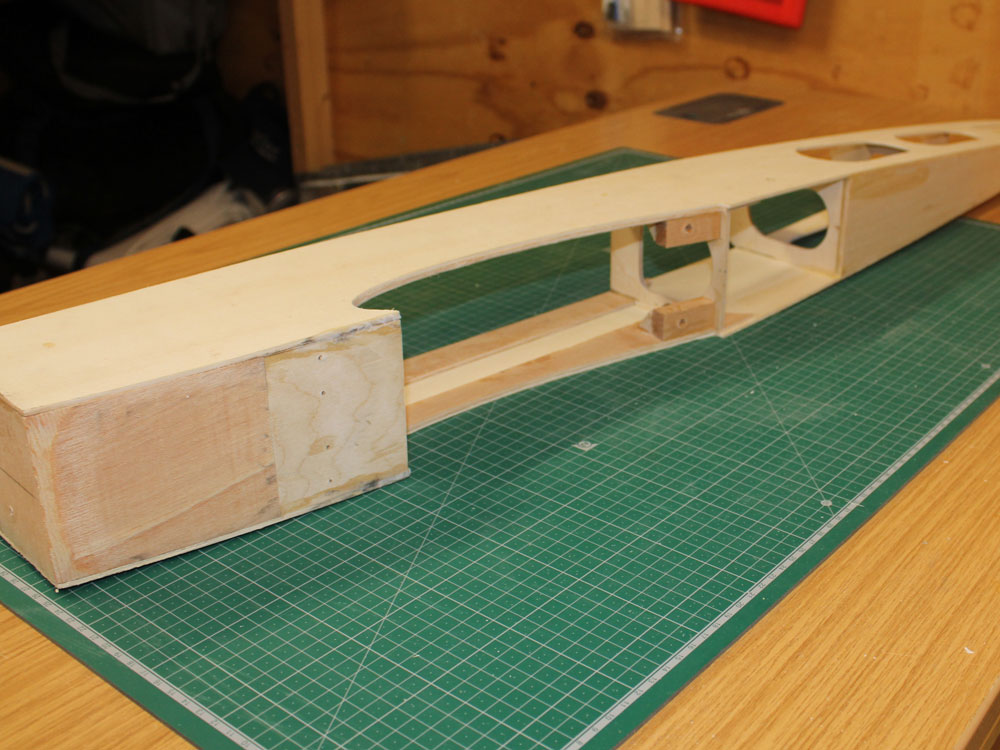
16. Fuselage

View Details
View Details
Complete fuselage ready for covering. I'll be using Oratex, sprayed and 2 pack fuel proofed.
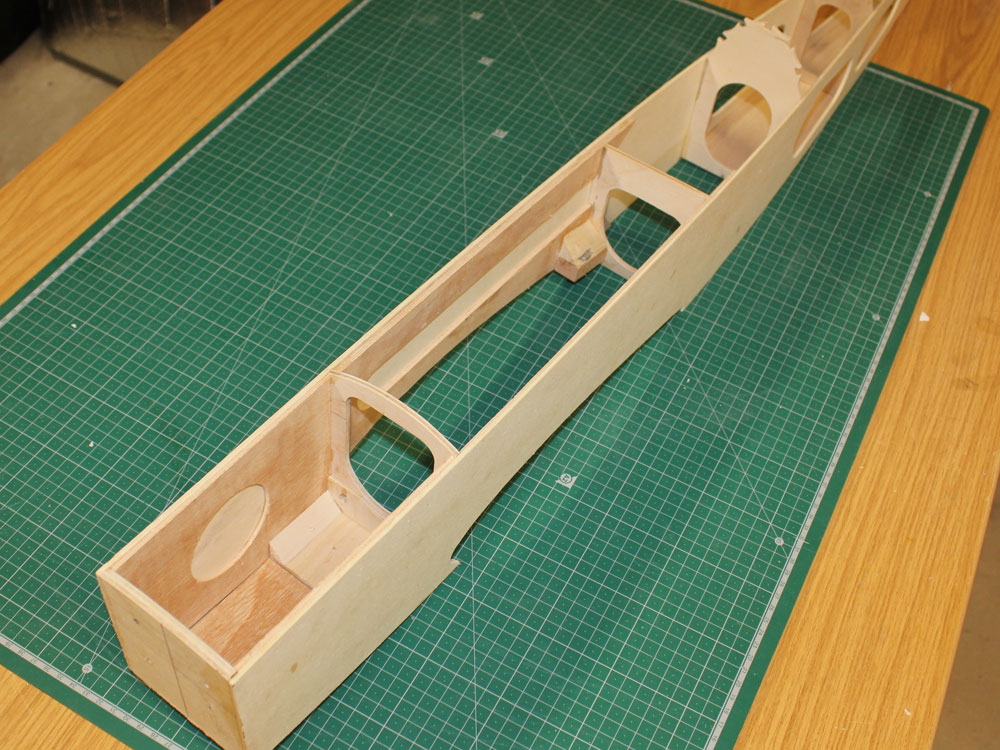
15. Fuselage

View Details

View Details
Rear fuselage.
14. Wings

View Details
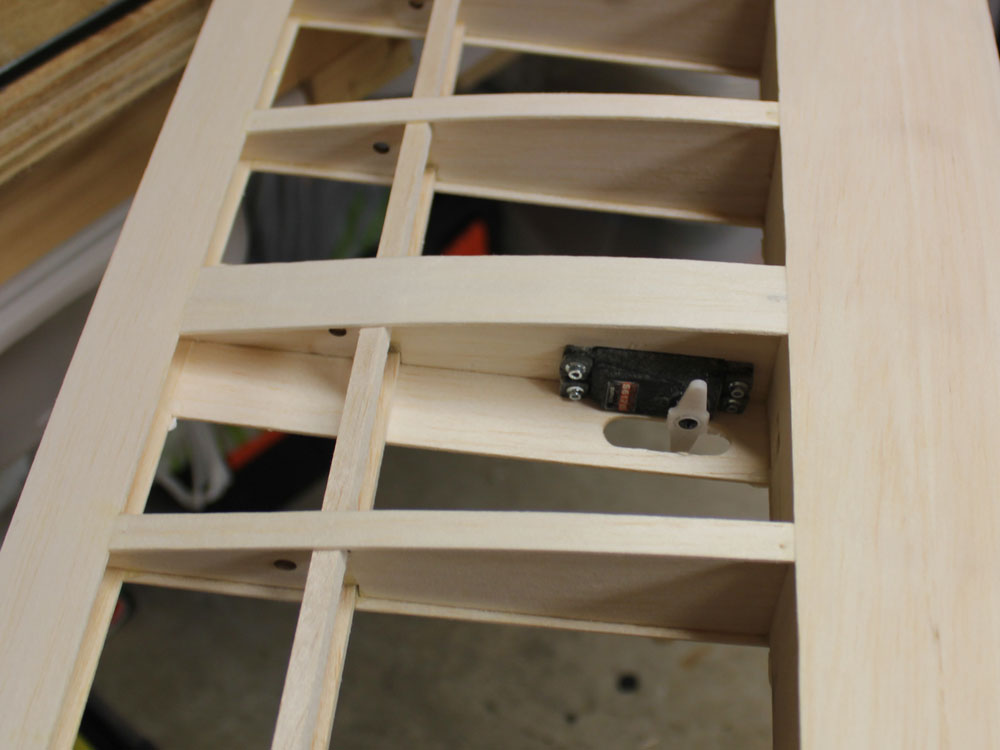
View Details
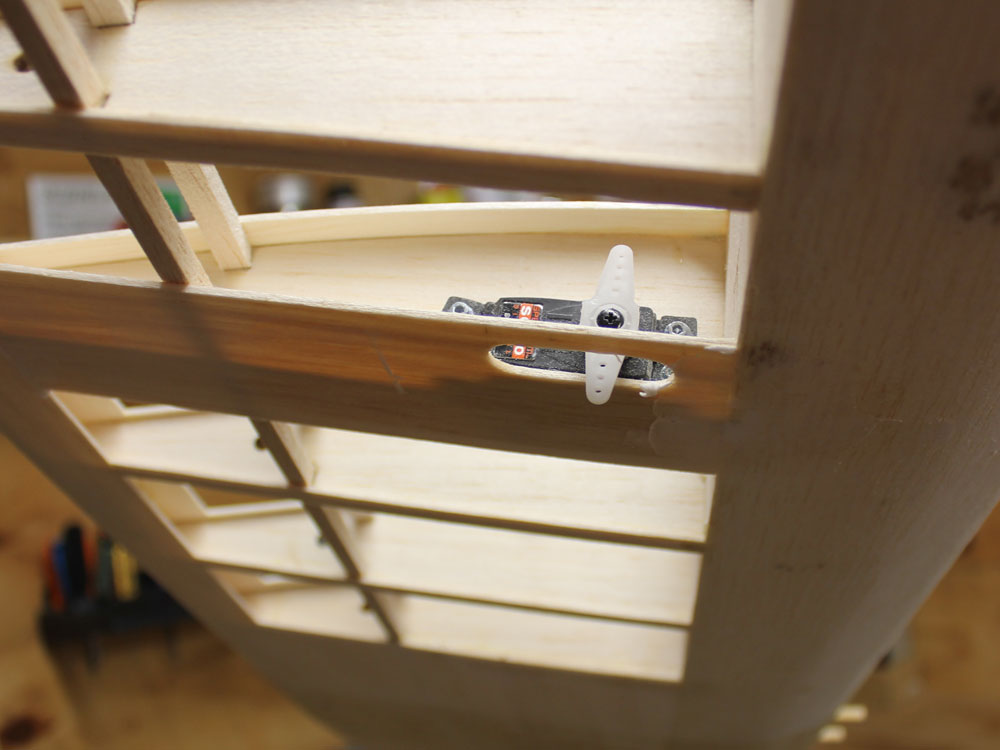
View Details
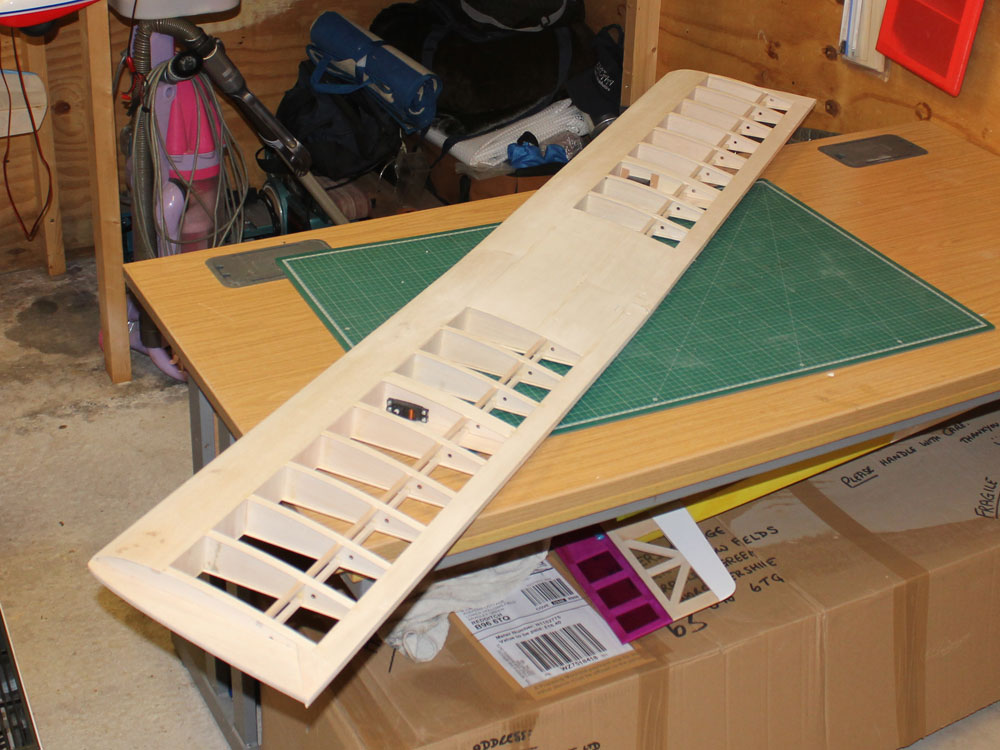
Servo fitted prior to covering, hatch or not to hatch, well I've never had a problem fitting servos this way. Complete wing ready for covering. This will be white Profilm, but I have some Hobby King checkered film for the underside trim.
13. Wings

View Details
View Details
Wing centre section glassed, and my prefered hinges - Robart pin hinges
12. Cowl
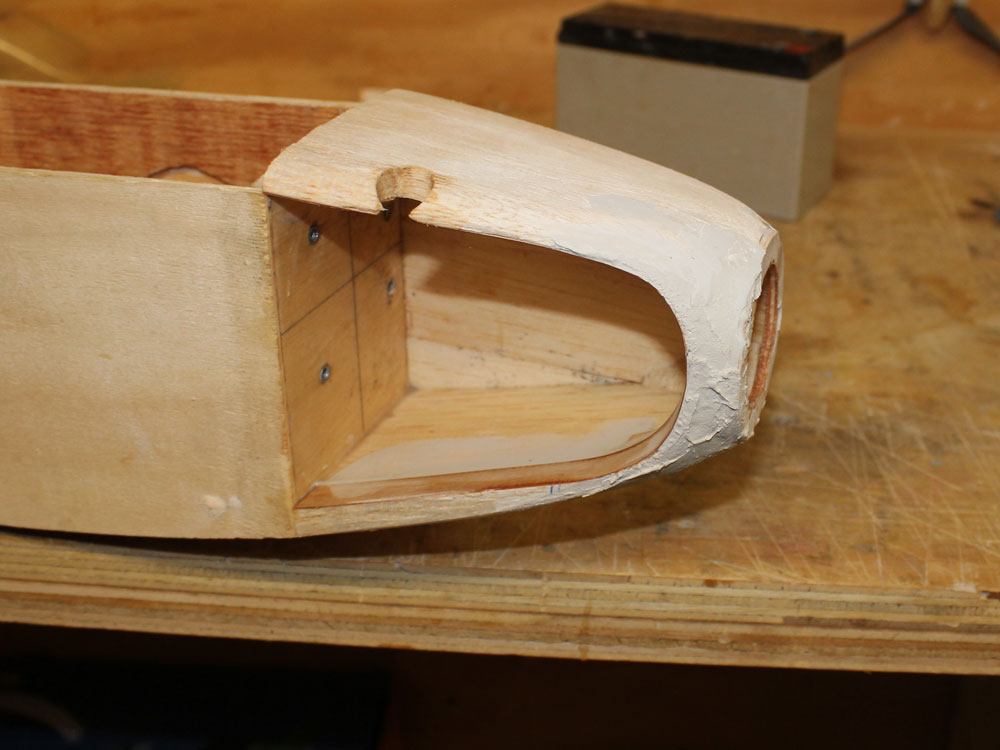
View Details
View Details

View Details
Here you can see the construction of the cowl,
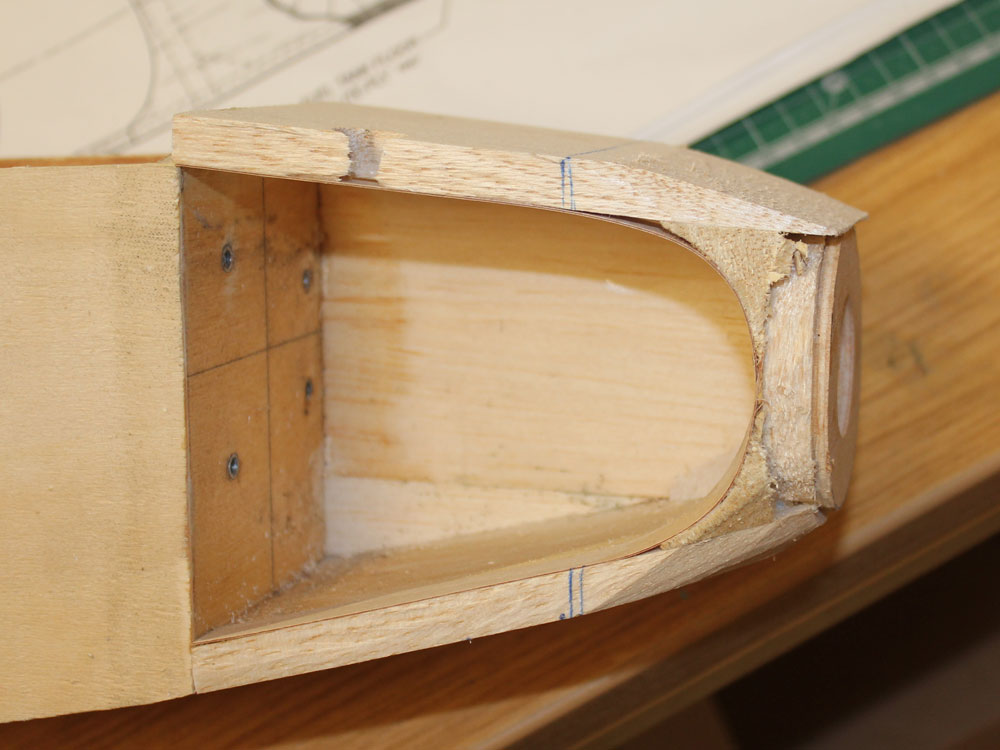
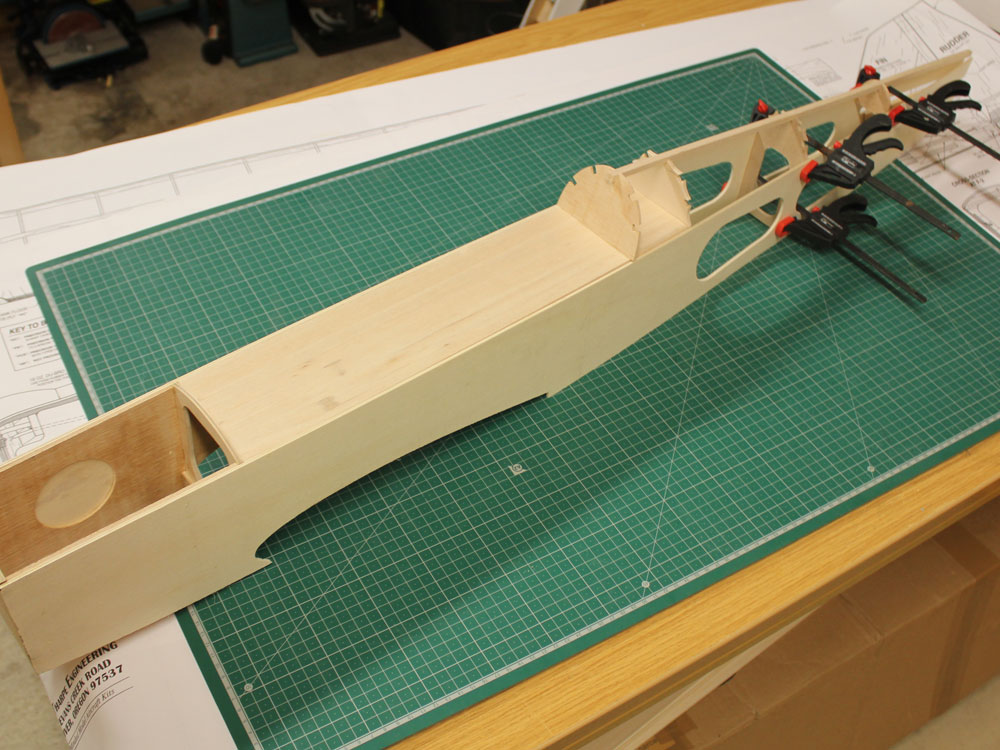
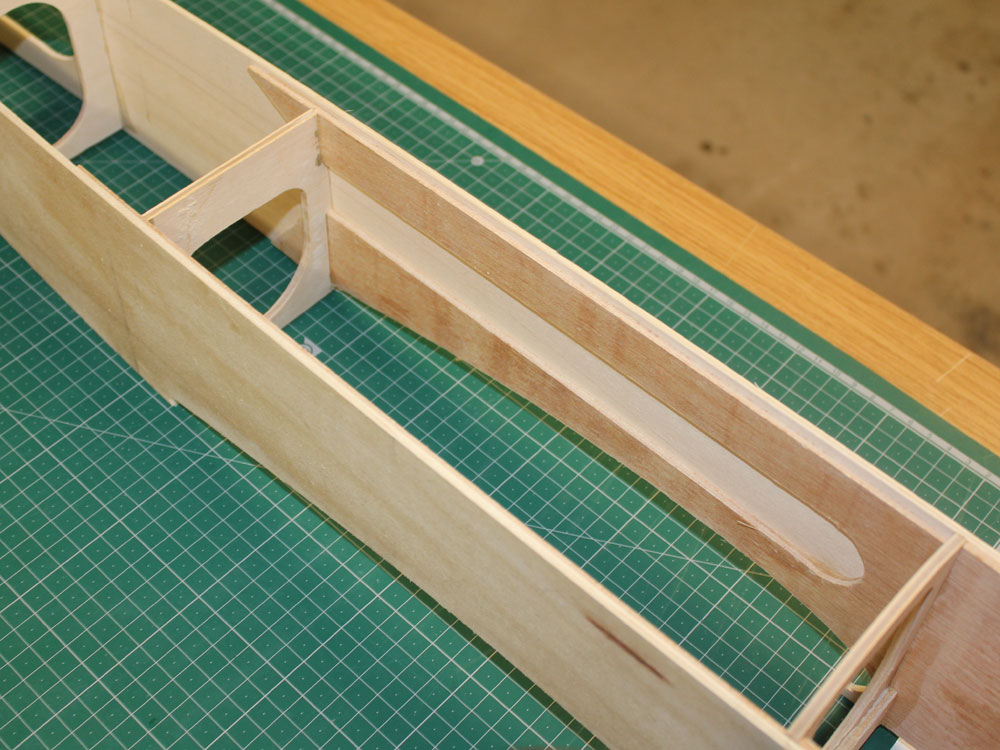
11. Fuselage

View Details

View Details

View Details
Decided after much consideration to mount the engine sideways, I think it will look better than having it straight up, although it will mean a lot of extra work to make the cowl. Couldn't resist assembling to get a feel for the size, this is a big model.
10. Fuselage
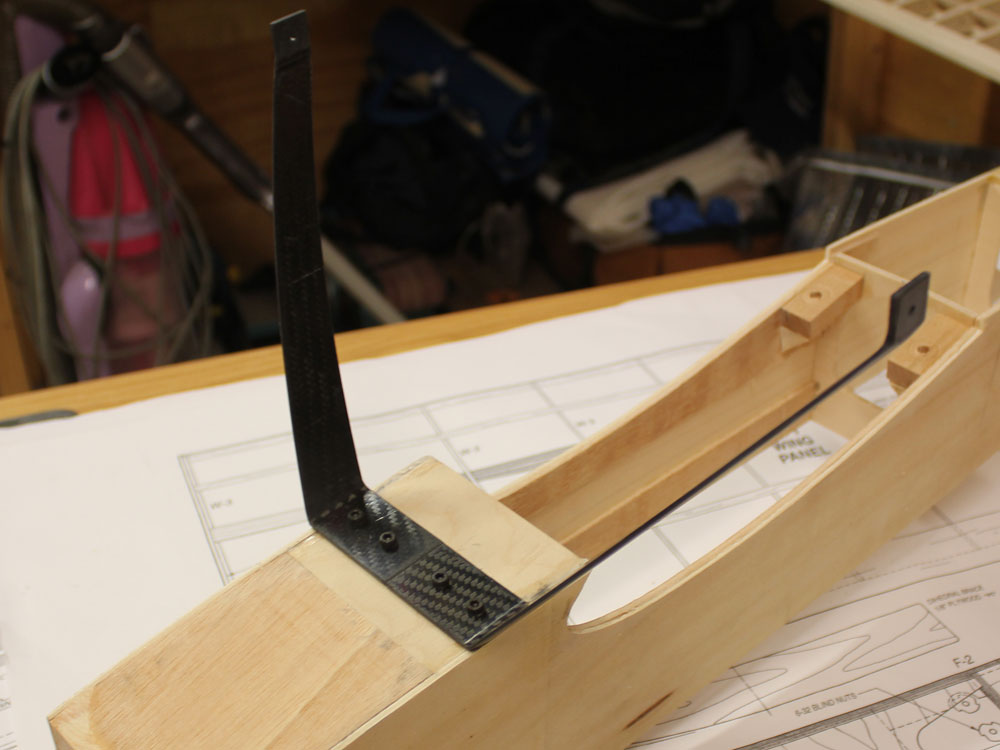
View Details
View Details
View Details
There is quite a bit to do before the decks can be fitted and you loose access to the inside of the fuselage. There's the wing mounting blocks to be drilled, the undercarriage mounts, and the engine mount. What isn't so obvious is the front shelf for the tank. The undercarriage is a carbon fibre set from Hobby King. Once all fitted I'll add some reinforcing fibre glass and fuel proof the tank bay.
9. Tail area

View Details

View Details
The plan calls for 5/16 for the tailplane and ailerons, this isn't a stock size in the UK so I used 1/4 with 1/16 - glued together with 3M 77 spray contact. You can see in the second image the final make up.
8. Wing finishing

View Details

View Details
View Details
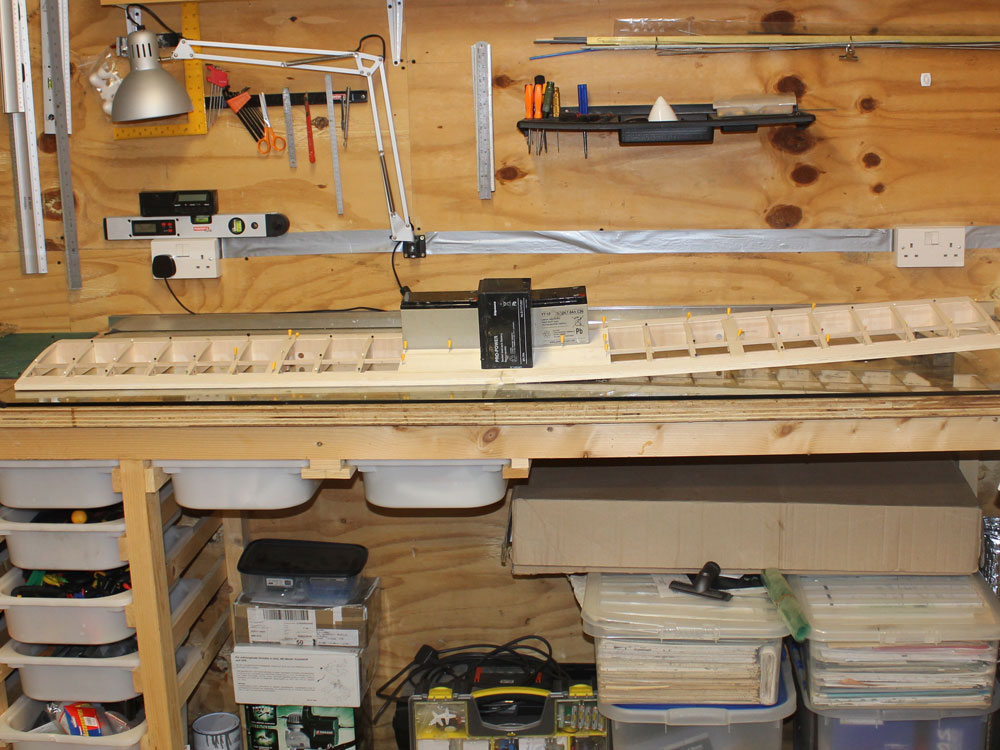
Wing sheeting completed and capping strips. I always fit wing servos in as i build, you can see here the control exit. WInd sanded awaiting glassing of the centre section.
7. Wing

View Details

View Details
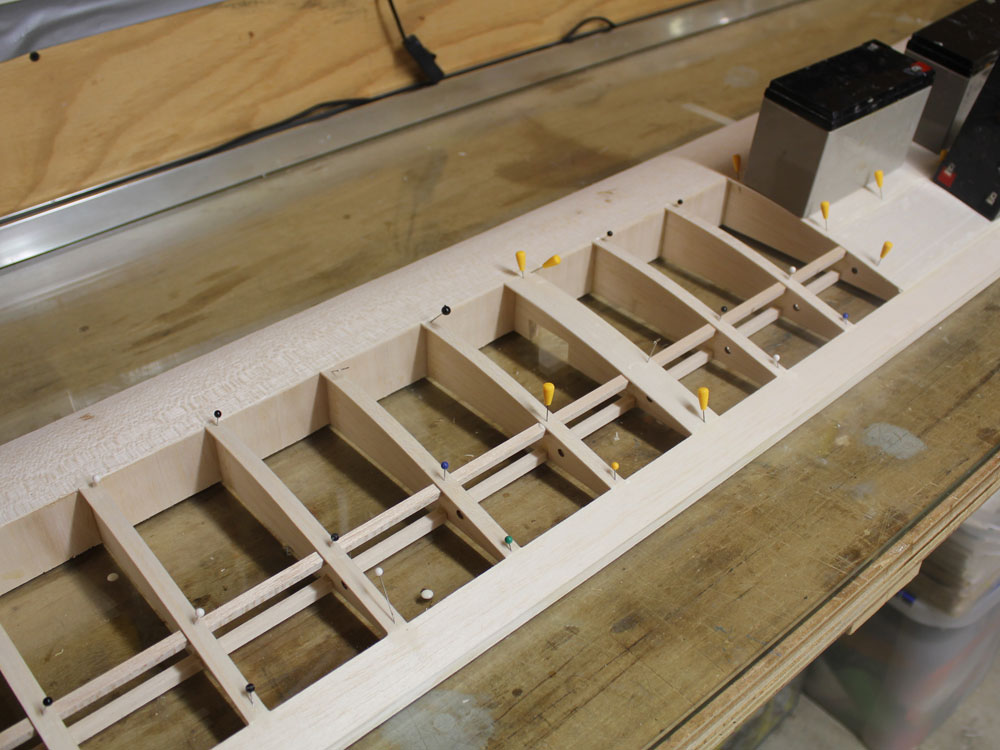
Centre section proir to the sheeting. Shows the balsa solid block for the wing dowls, and the servo wires tucked away for now. And gaps are filled with Gorilla glue. The other is the wingtip detail.
6. Wing Joining
View Details
View Details

View Details
Wing joined, with dihedral brace - I'll also be glassing the centre section.
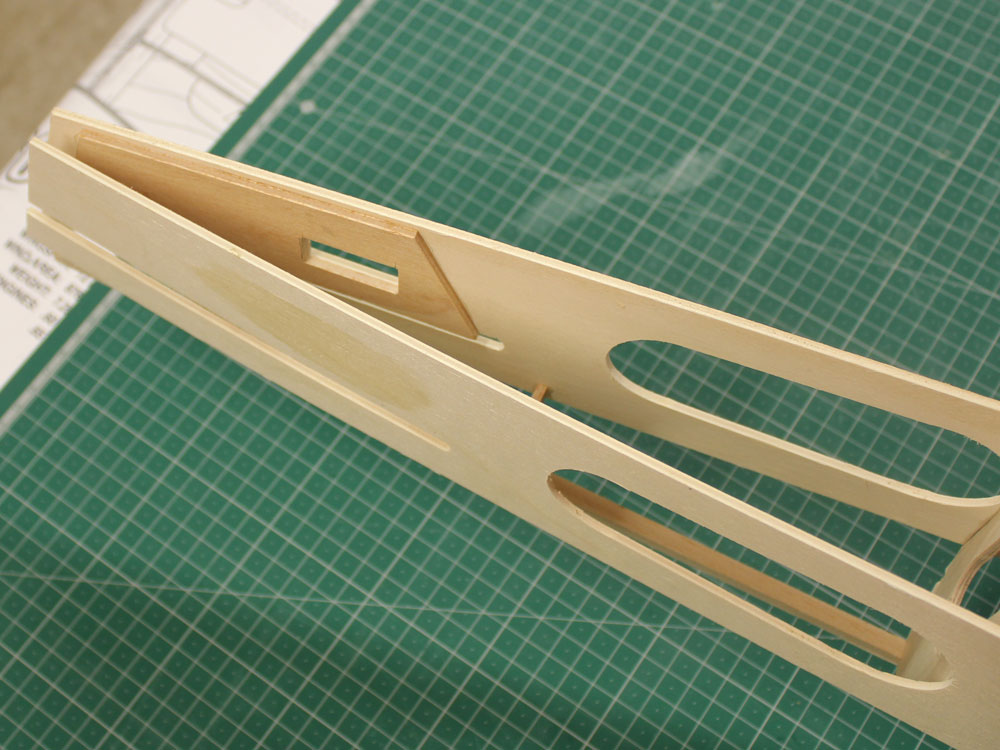
5. Fuselage
View Details

View Details
View Details
Wasn't ready to glue the floor in just yet (also made from balsa not lite ply as plan) as I'll need access to do the wing fixings, but I needed the headrest to get the position of the rear stringers, these must be straight. Rear formers fitted.
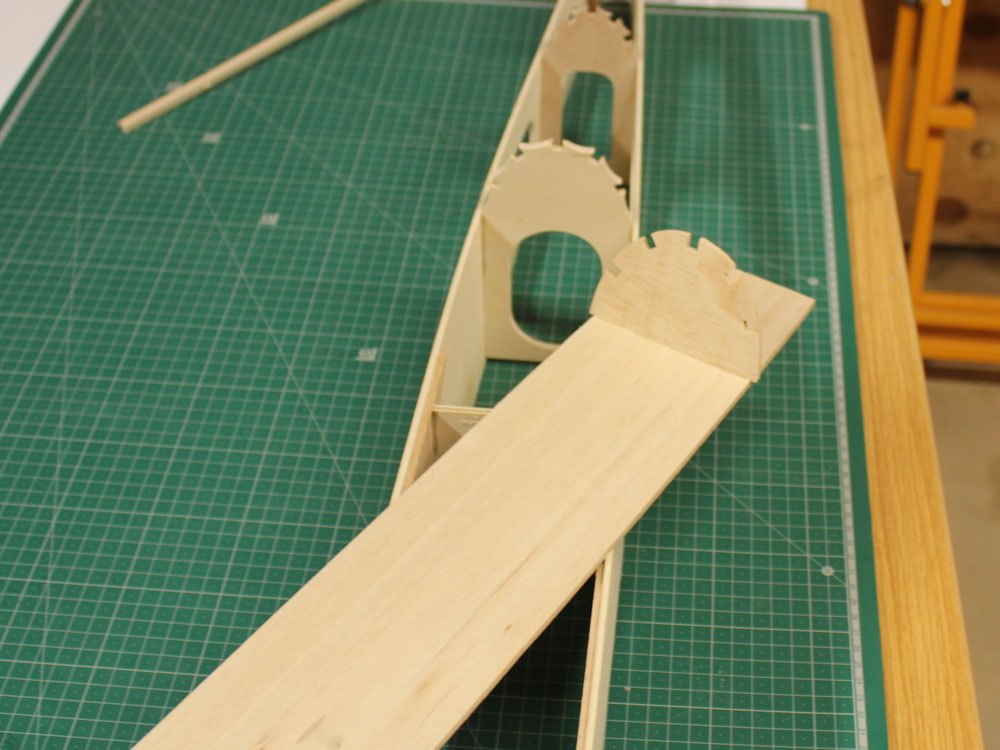
4. Fuselage
View Details
View Details
For ease of cutting I haven't followed the internal shapes for the doublers, here you can see the parallel relief rather than following the wing section as shown on plan. Also I'm having a servo at the tail for the elevator, and it's doubler can be seen in the second pic.
3. Wing

View Details

View Details

View Details
Wing with top sheeting showing the new arrangement with a D box, and the trailing edge being held flat while the glue dries.
2. Wing

View Details

View Details

View Details
A combination of rib tags and carbon rods to build the wing straight. Progress is fairly rapid, with 3" stock sheet for the webs.
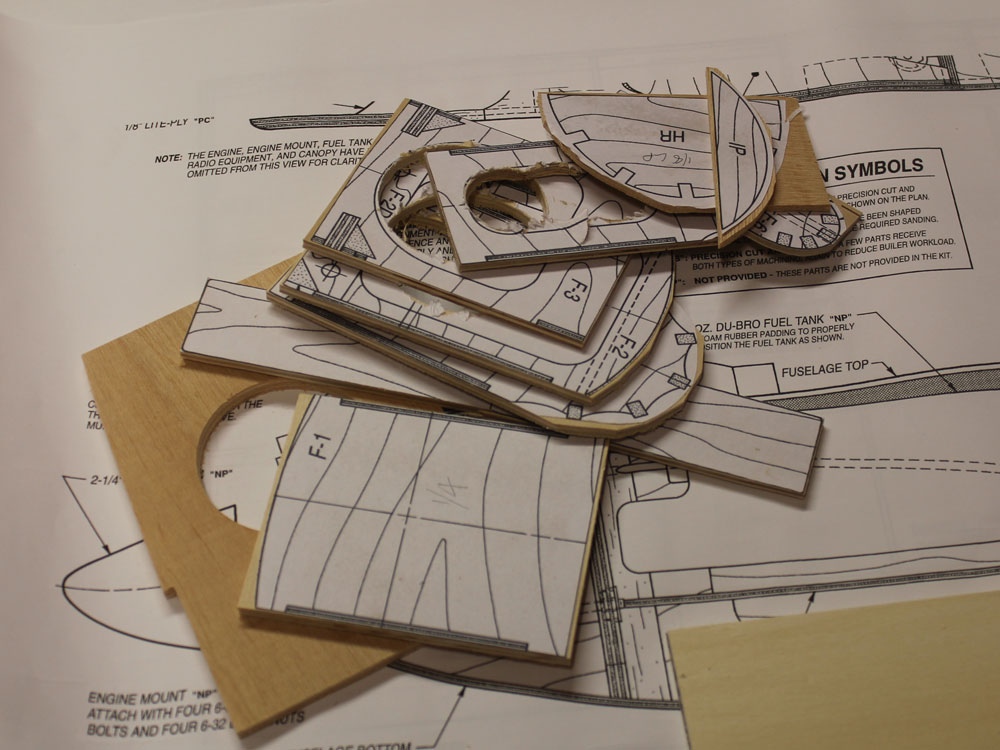
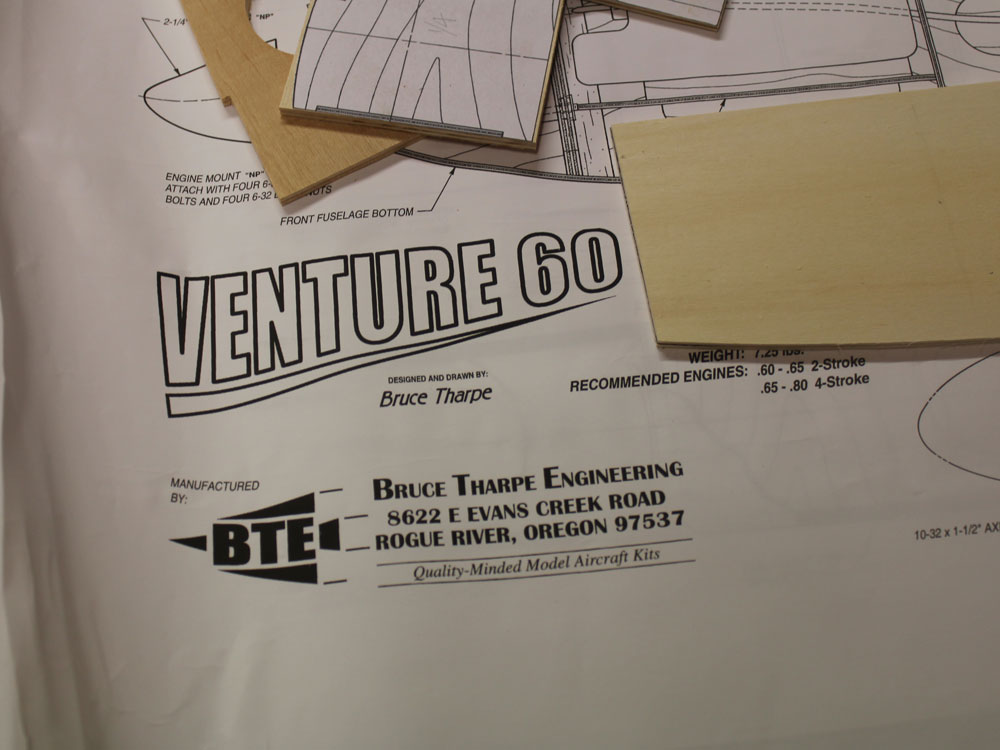
1. Kitting up
View Details

View Details
View Details
First things first - I need a kit of bits. I had a set of ribs laser cut, but all the formers and fuselage parts are being hand made. I have changed the wing design to use a more traditional D box and solid leading edge.