Suzy Que client build
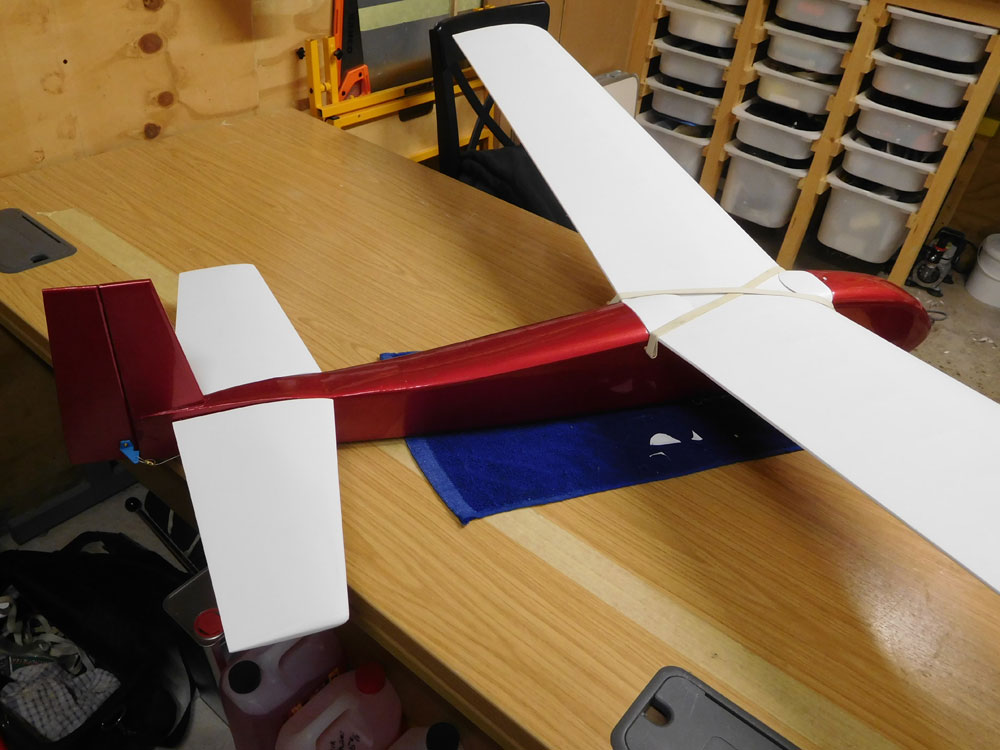
11. Complet model
View Details

View Details
Complete model ready for delivery.
10. Fusleage

View Details
View Details

View Details
Main components covered with Hobbyking film.
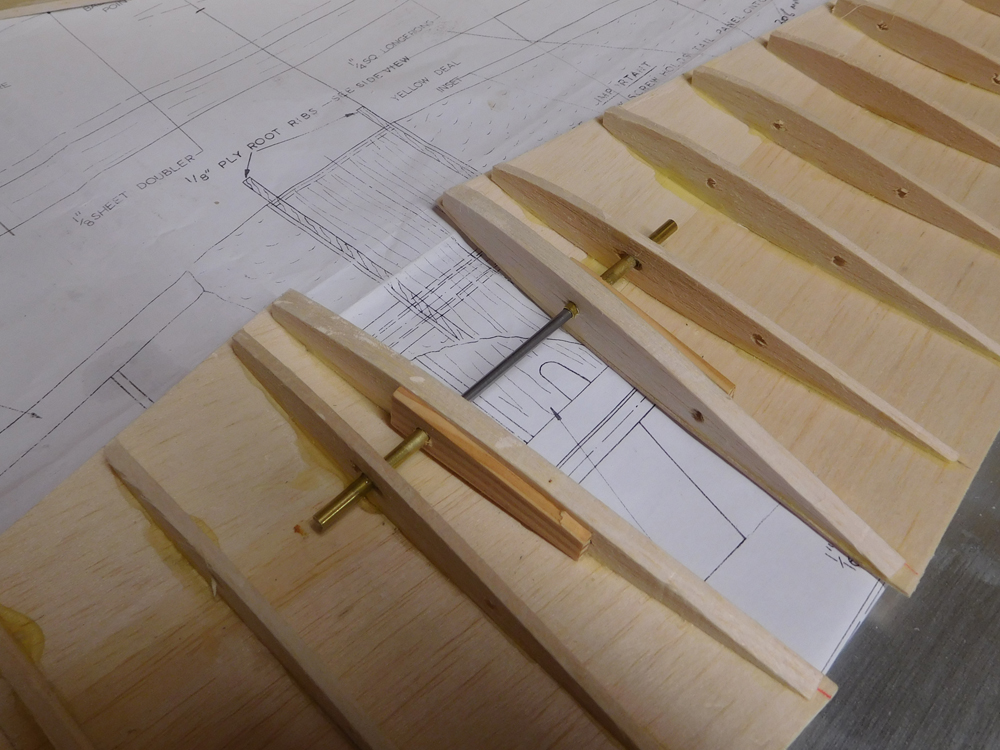
9. Fusleage
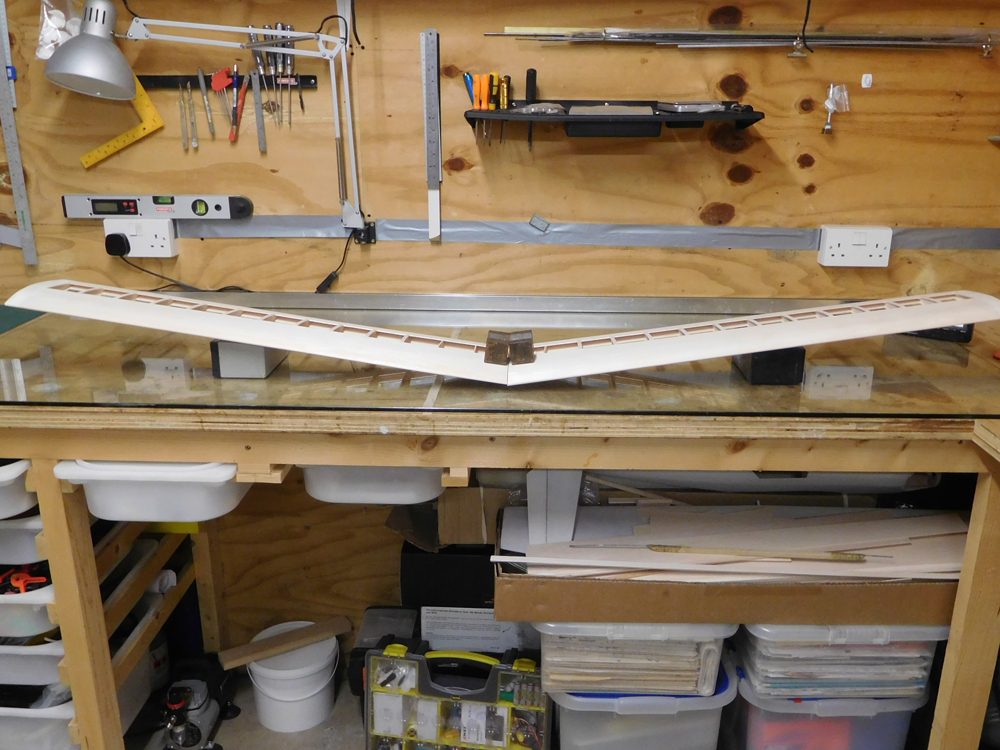
View Details

View Details
View Details
Wings joined and held at the correct dihedral angle while the glue dries.
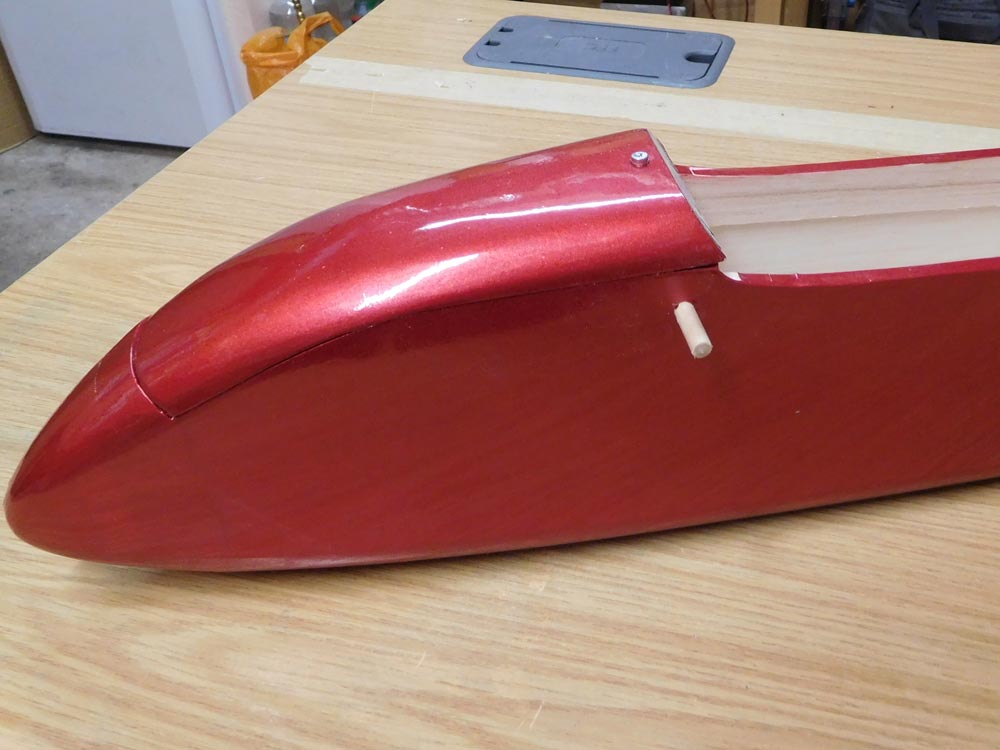
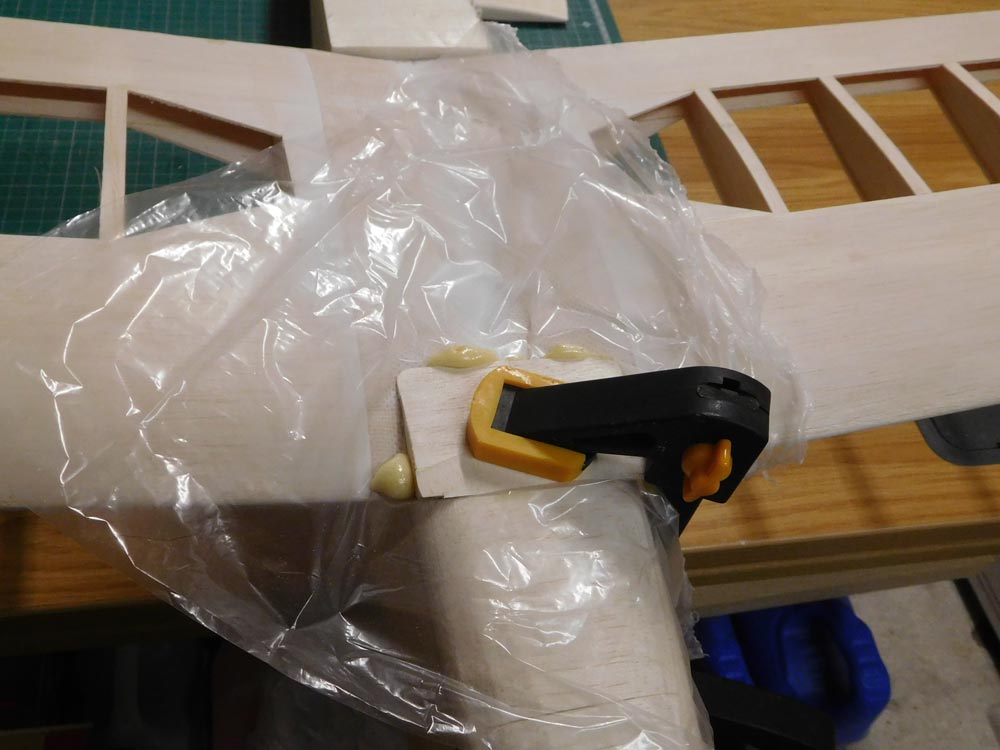
8. Fusleage
View Details

View Details

View Details
Wing fairing clampped in place and other views of the nearly completed fuselage.
6. All moving tailplane

View Details

View Details

View Details
AMT internals added, bushed with 3mm spruce thats been soaked in thin cyano. Top fuselage sheeting added and the whole tail end blended together.
5. All moving tailplane

View Details
View Details
View Details
Tailplane ribs were made using the sandwich method and glued to one of the sheeting pieces, the mechinics are then assembled with a good helping of gorilla glue to spred the load and hold in place.
With the glue still 'foaming' the other half of the tailplane sheeting was added, so the glue would stick to both top and bottom.
With the glue still 'foaming' the other half of the tailplane sheeting was added, so the glue would stick to both top and bottom.
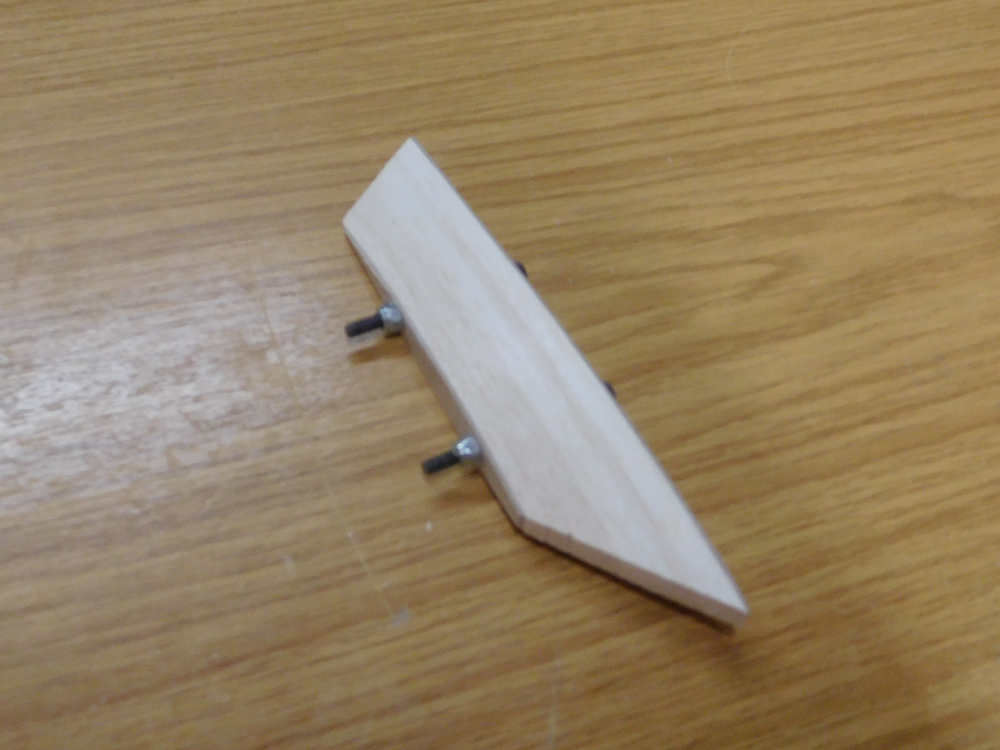
4. Fuselage

View Details

View Details
View Details
Bottom sheeting in place. Middle pic shows the nose block and the final pic shows the nose block in place ready for shaping. The model has an all moving tail, so the top decking has been left of until the tail is fitted and the horn mechanism is fitted.
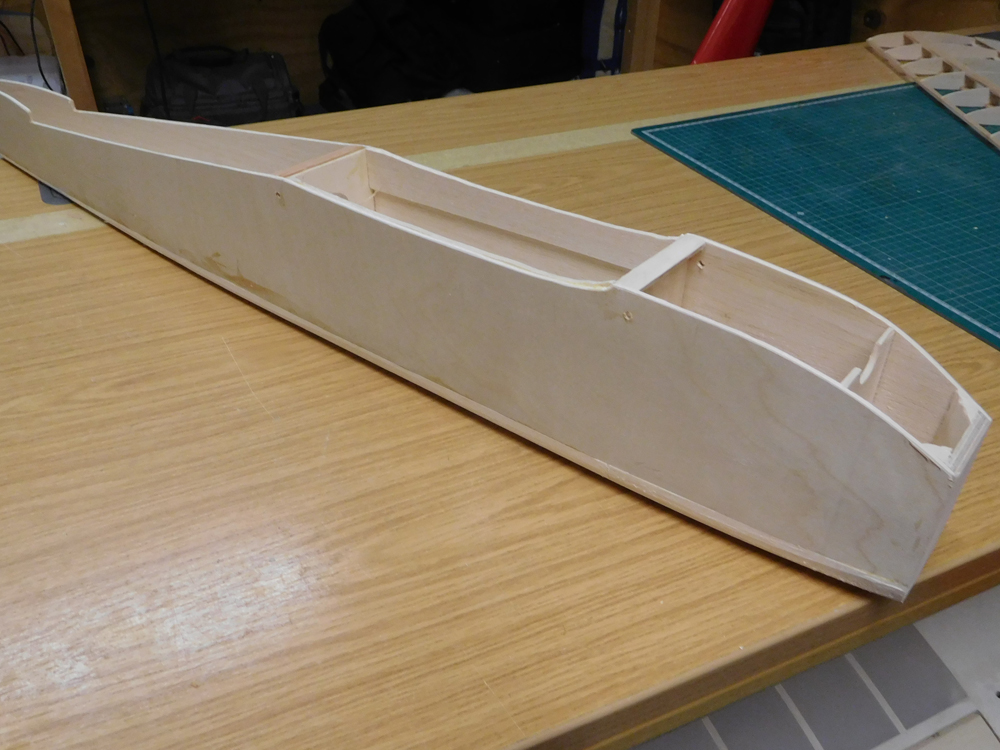
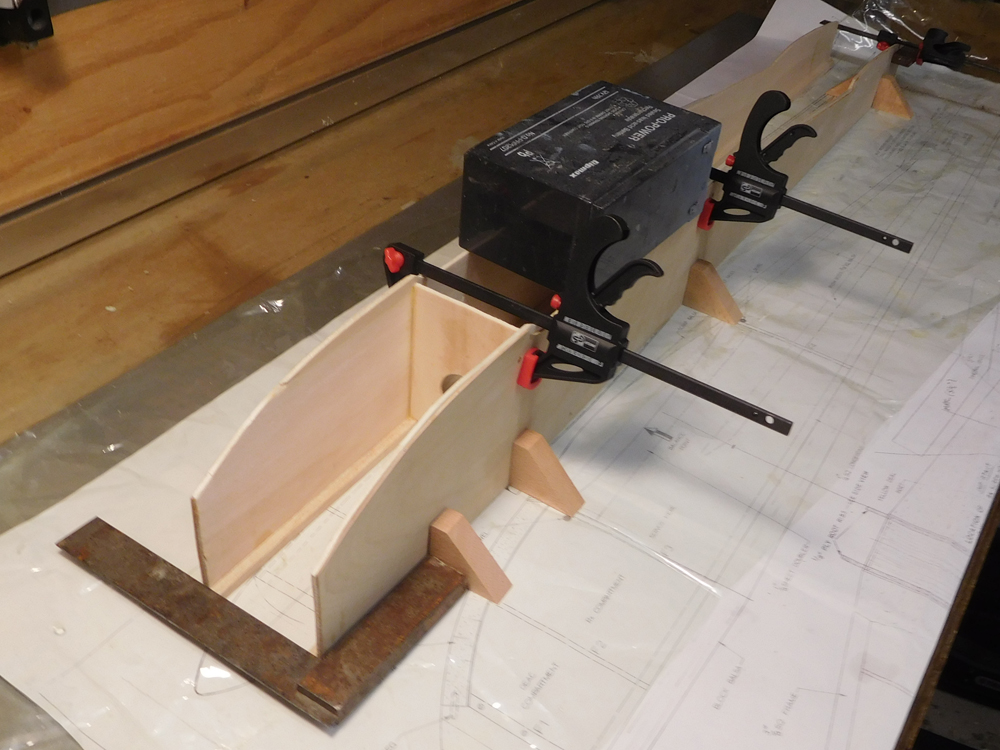
3. Fusleage

View Details
View Details

View Details
Fuselage sides joined and clamped. Jig was needed to hold the sides while nose former F1 glued in place.
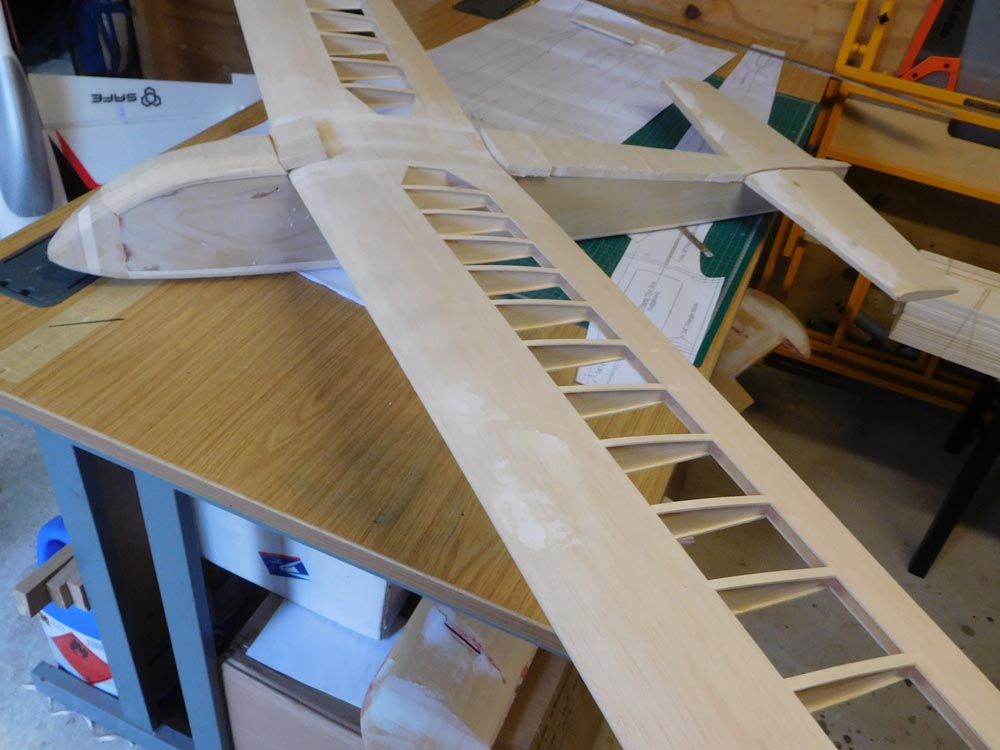
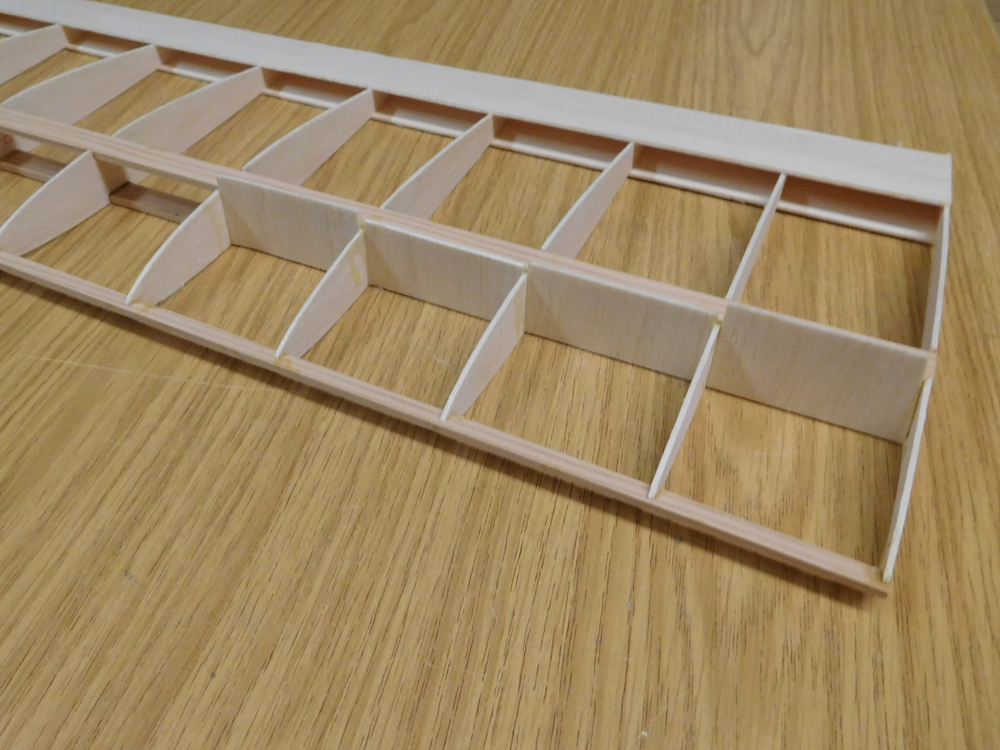
2. Wings

View Details
View Details
View Details
Wing panels, not on the original plan, but I've added shear webs to the inboard ribs.
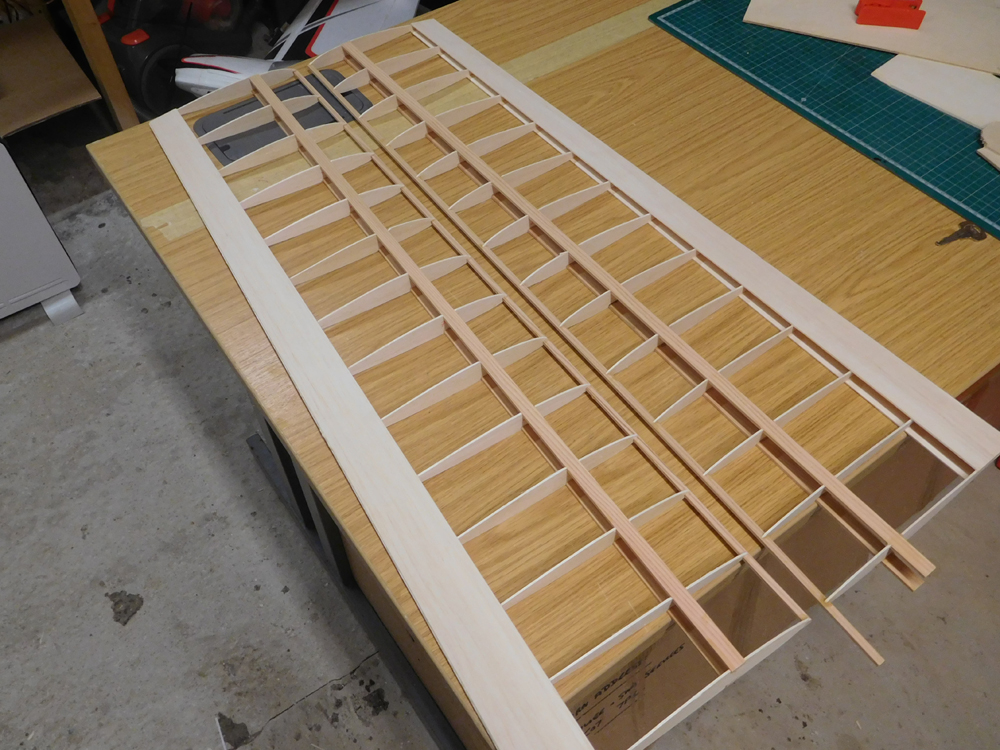
1. Wings

View Details

View Details

View Details
Wing panel transfered to CAD and wing ribs printed out. Wing being built over plan. The rib tabs are generated from the CAD program.