Plan build of the Super Sicroly II
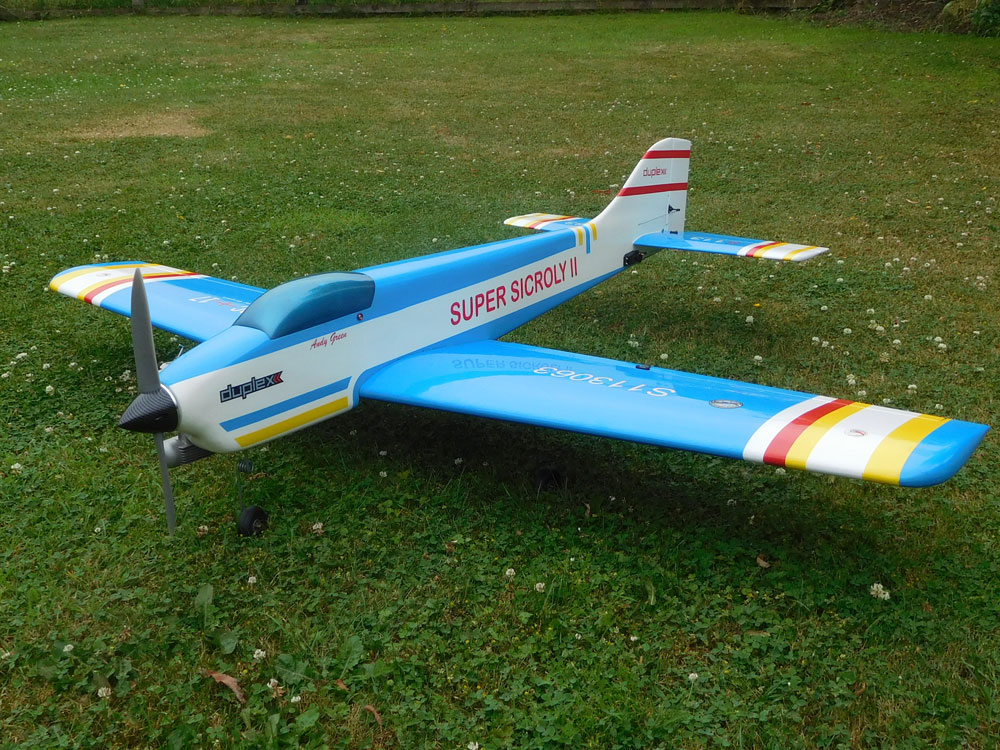
The finished model.
View Details
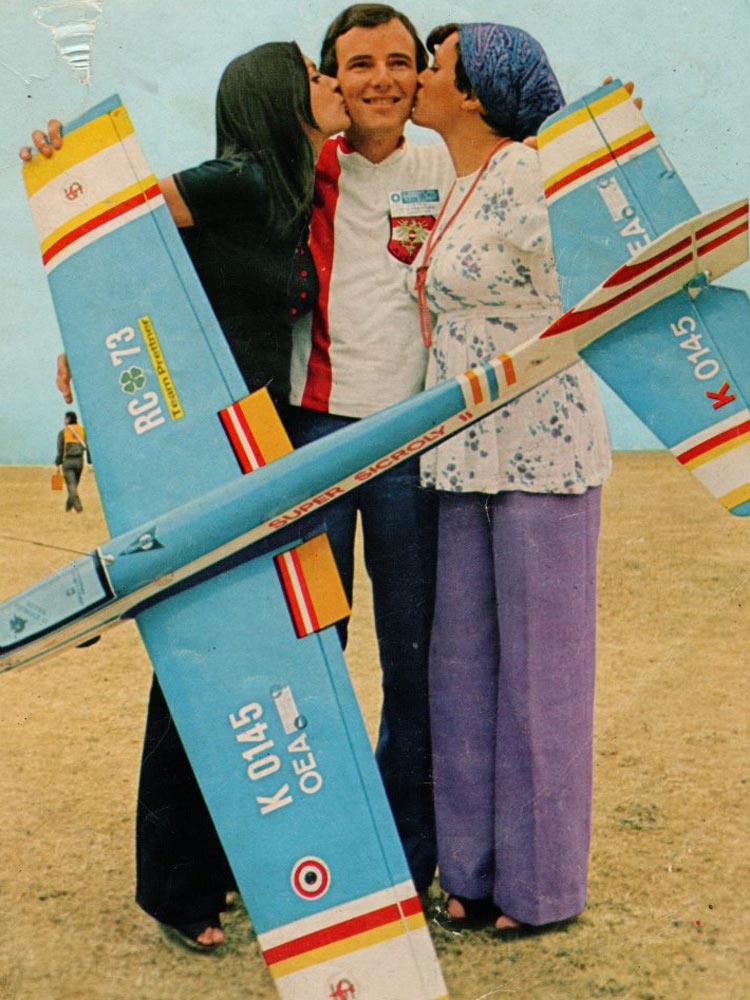
The finished model original with Hanno Pretner.
16. Finished model
View Details

View Details

View Details
Completed model ready for maiden flight.
15.Installation

View Details
Engine fitted and connected.
14. Covering and painting

View Details

View Details
Scheme was Hanno Prenters from 1973 or as close as I want to get. Even found some old BMFA water slide transfers for the wings.
I'll be trying to reproduce the top image these 44 years later.
I'll be trying to reproduce the top image these 44 years later.
13. Covering and painting

View Details

View Details
Fuselage was covered with 25g glass cloth, primed, rubbed back and sprayed. The final fuel proofing was Klass Kote clear epoxy. WIng and tail are film covered.
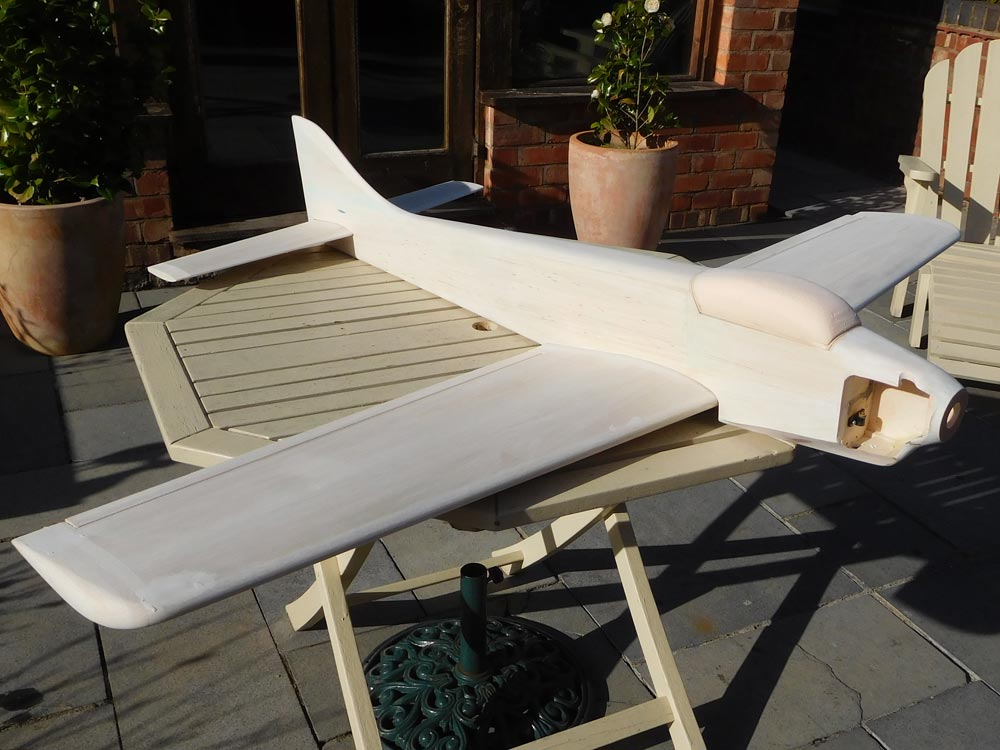
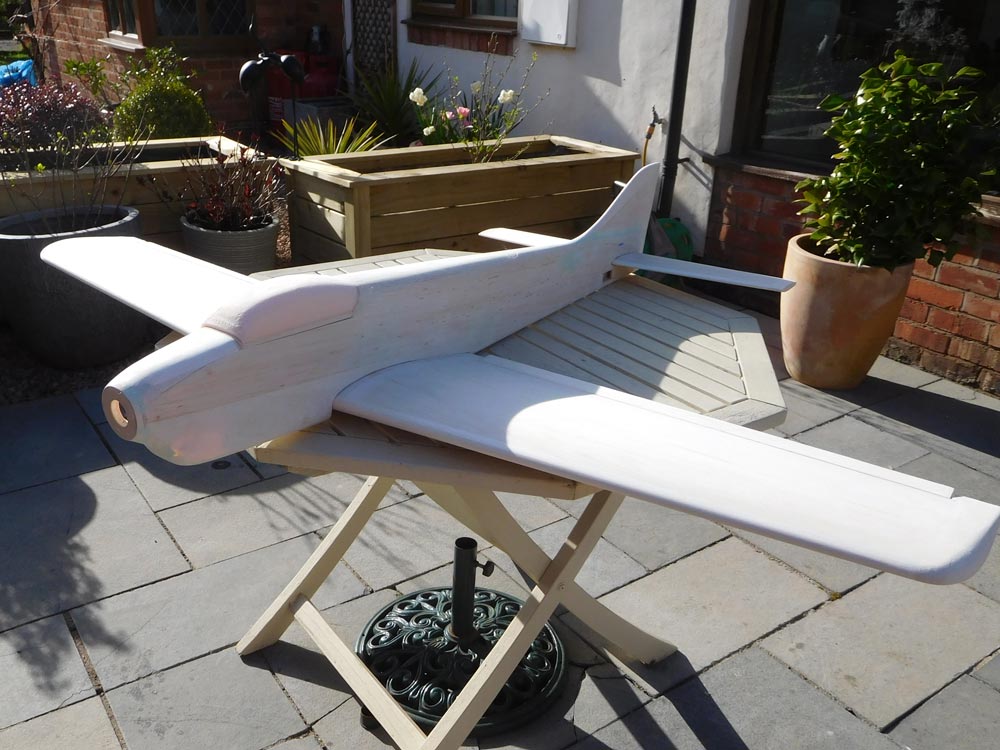
12. Test assembly
View Details
View Details
Test assembly - first time together.
11. Canopy

View Details

View Details

View Details
Canopy made from pink extruded foam, glass cloth covered and sprayed.
10. Wing Joining

View Details

View Details

View Details
Wing centre section filled and glassed, also ran some 25g glass cloth out over the U/C mounting blocks to tie it all together.
9. Fuselage

View Details
View Details

View Details
Fin outline and sheeting, better view of elevator servo position. Filler (Dolphin Glaze) used to shape the fuselage.
8. Wing joining

View Details

View Details
View Details
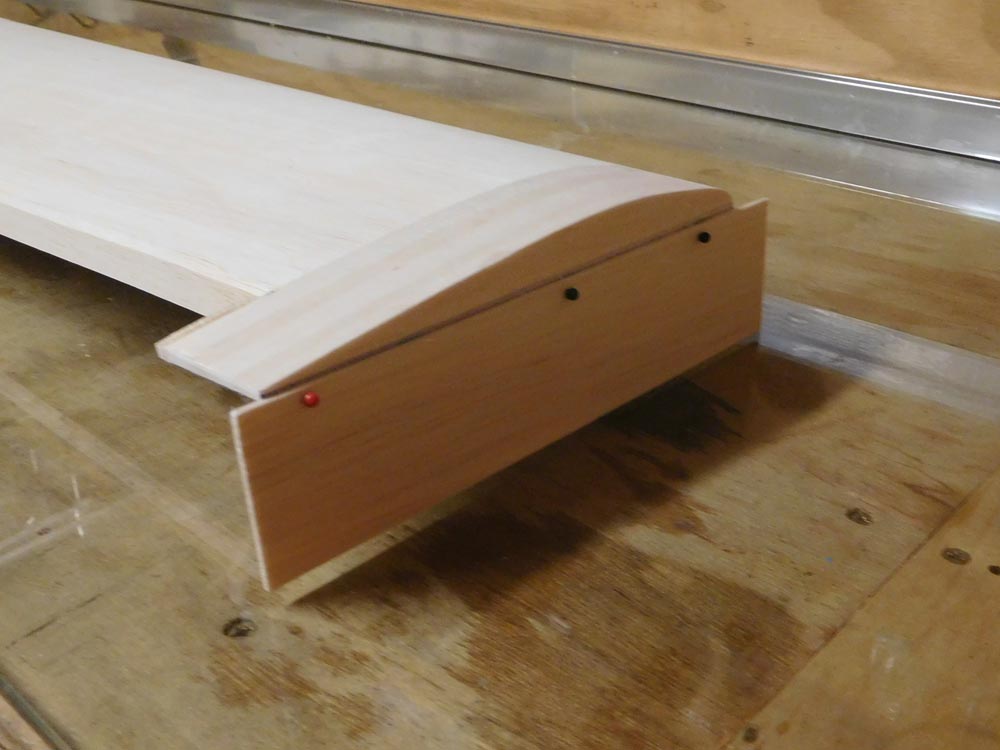
Wing joining. Attach a piece of balsa at the correct height to provode the correct dihedral, parallel to the wing section centre line, and hold down flat at the tips, any discrepancy is lost at the join in the centre. Thats not a gap in the first pic, its a shadow as I build on glass. 1/32 ply hard points added to mimimnise hanger rash over the years.
7. Ailerons

View Details

View Details

View Details
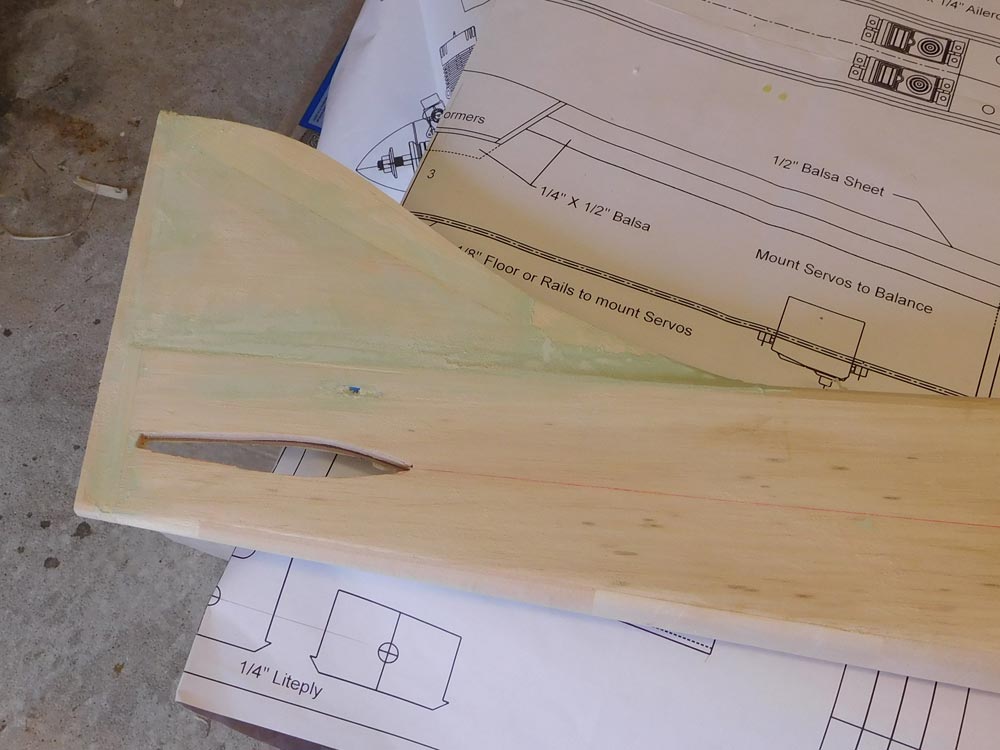
Cutting out the ailerons from the cores, before facing with 6mm balsa hinge doublers are added. I'll be using Robart pin hinges as usual and this method assures a solid anchor point.
6. Wings

View Details

View Details
Marking / cutting out for undercarriage and aileron servos
5.Wings
View Details

View Details

View Details
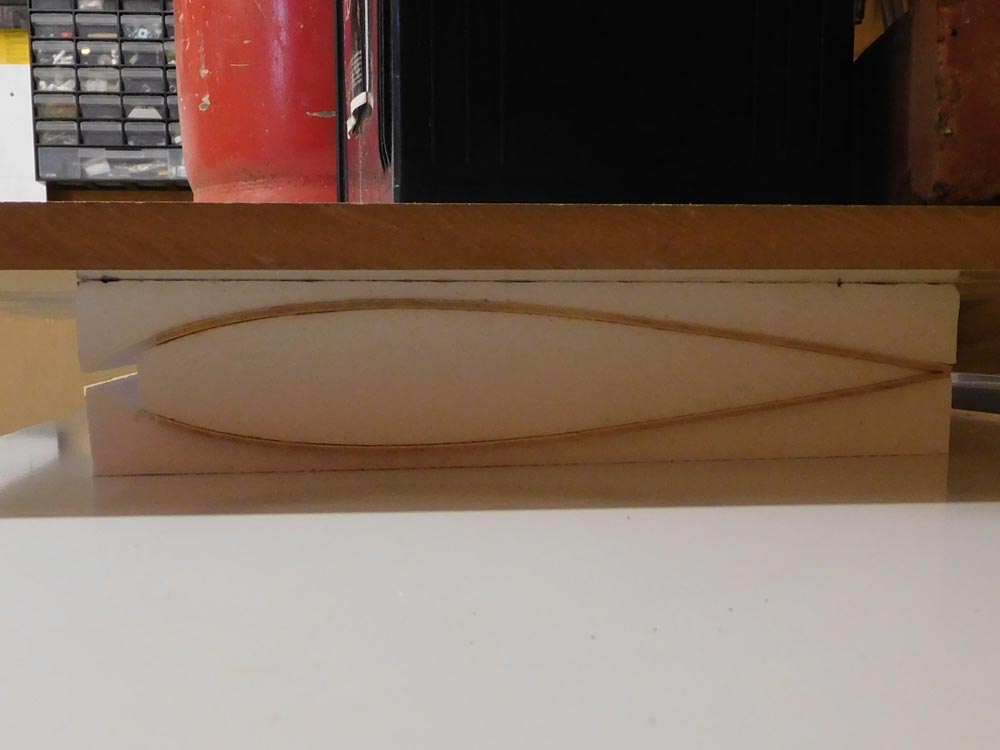
Wing cores given a thin coat of Gorilla glue, and weighted down to cure. Because of the thin layer expansion isn't an issue and it cures rock hard along the trailing edge. Wings sheeted in 2mm soft balsa.
4. Fuselage
View Details

View Details
View Details
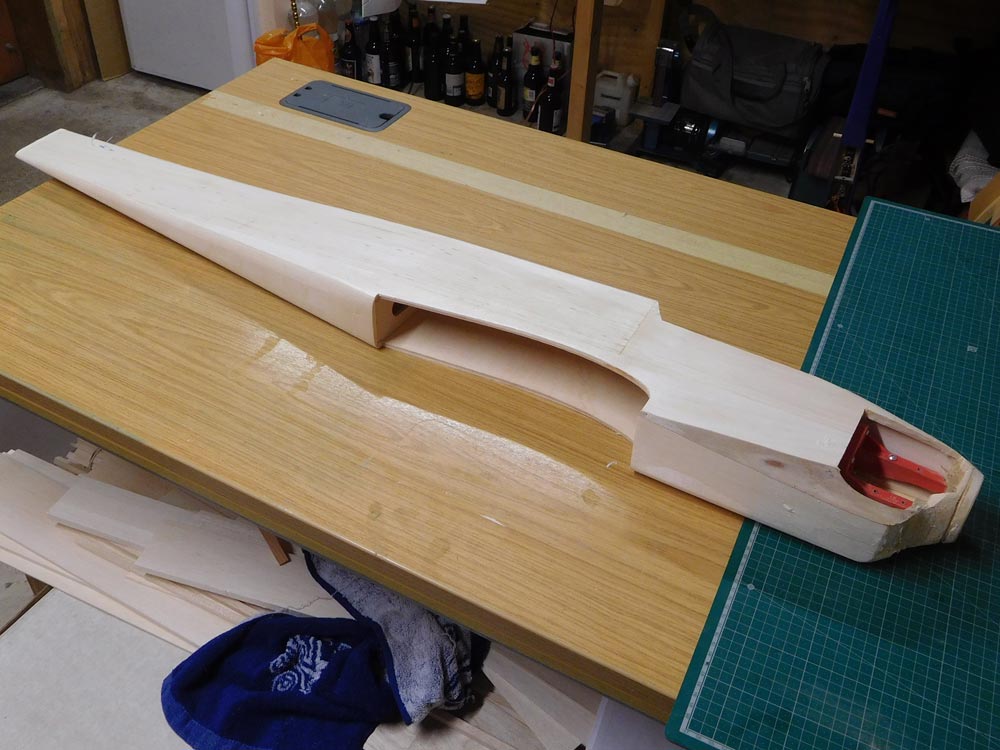
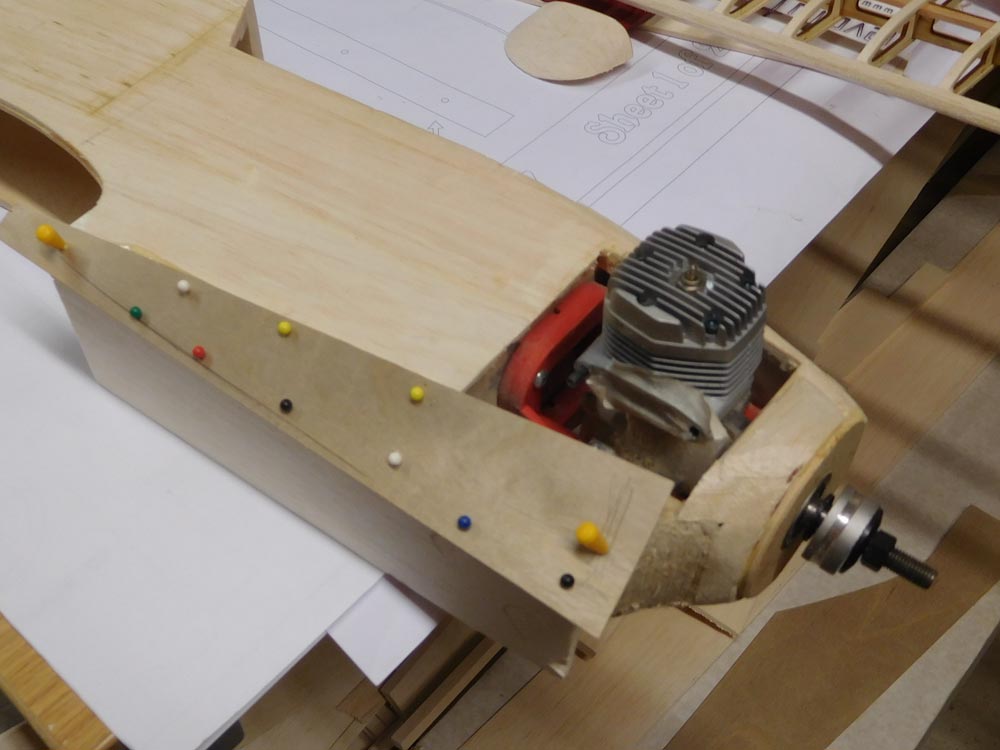
Silencer fitted and side taken out to allow for it, cowl shaping started.
3. Fuselage

View Details

View Details

View Details
Engine fitted early on and the cowl blocked out
2. Fuselage

View Details
View Details
View Details
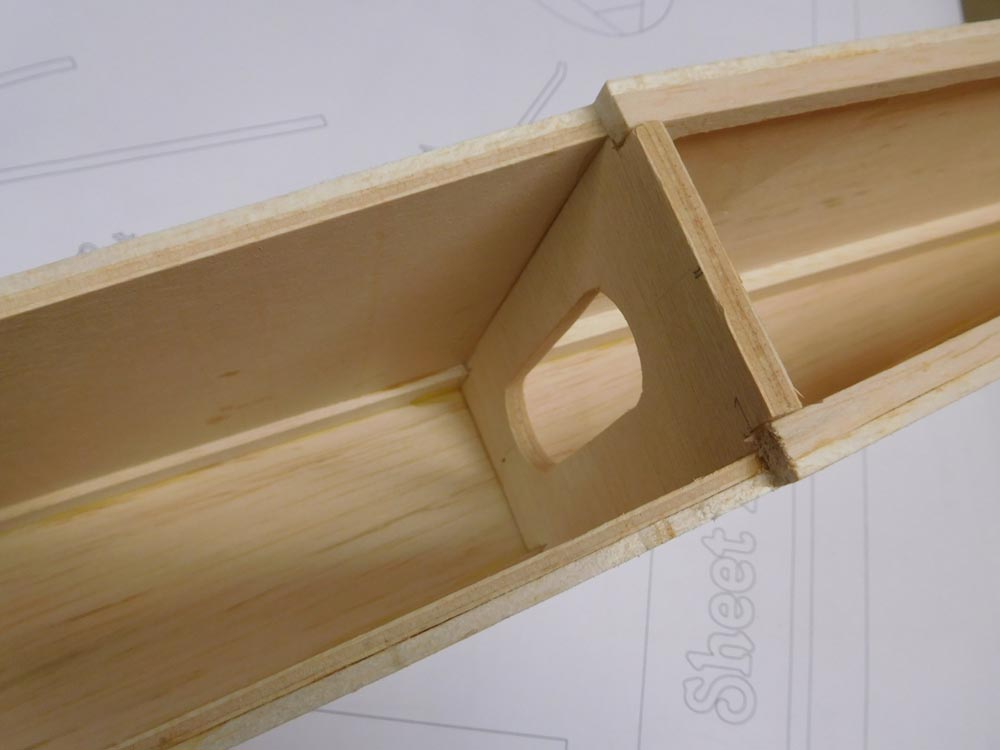
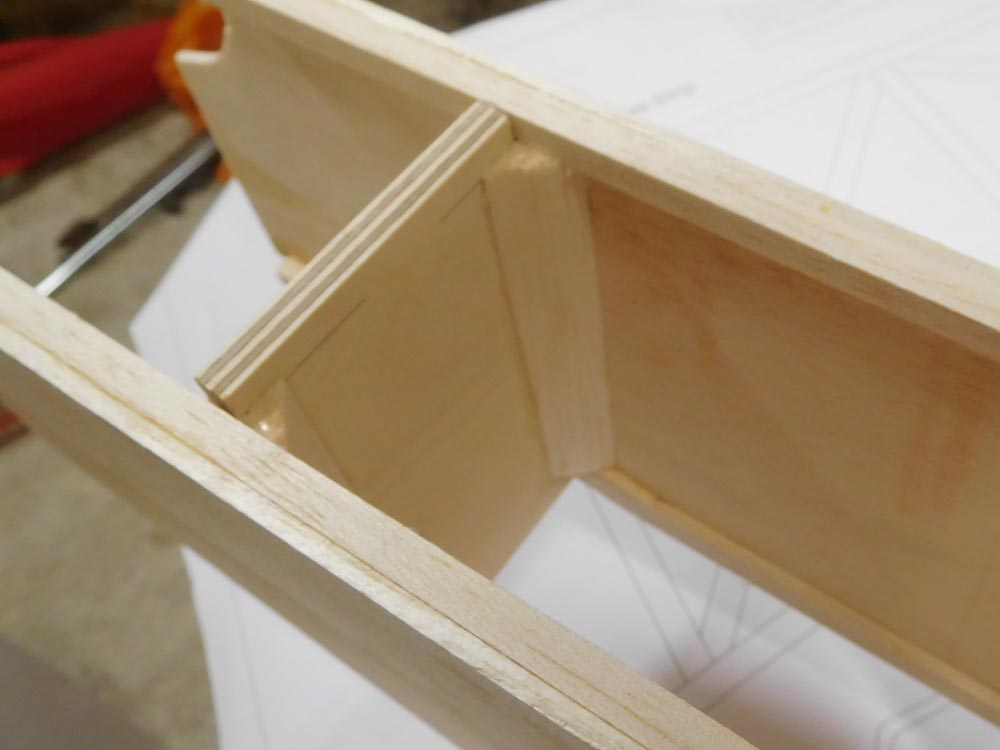
F1 ever so slightly wider to fit the engine mount, tail modified to fit a tail end elevator servo by addition of a 2.. lite ply doubler.
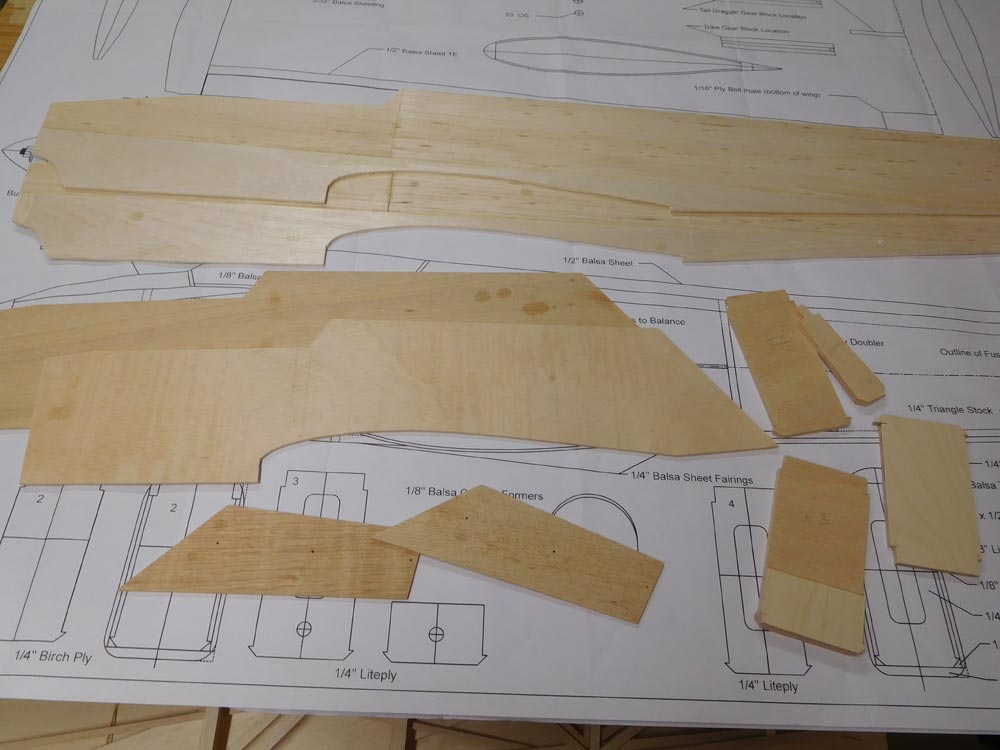
1. Kitting up

View Details
View Details
View Details
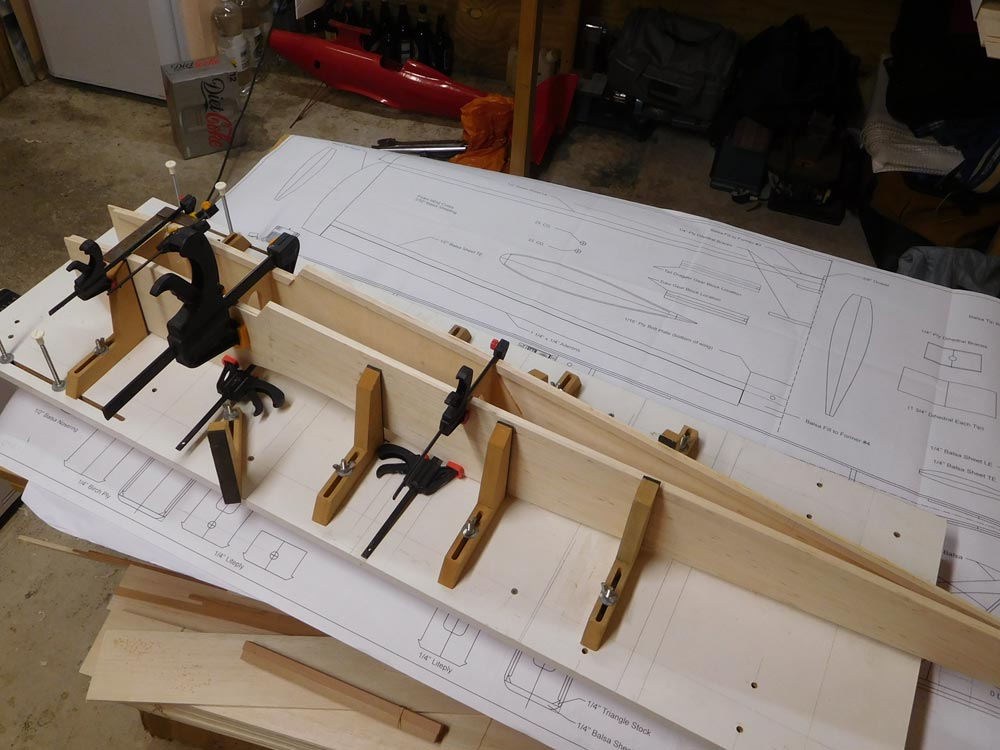
Plan, wood & foam wing cores. Start by cutting out some formers and sides and it's a simple box at this stage so easy to get going.