PB Bullet
22. Complete model

View Details

View Details
Model ready for maiden (almost).
22. Complete model
View Details

View Details

View Details
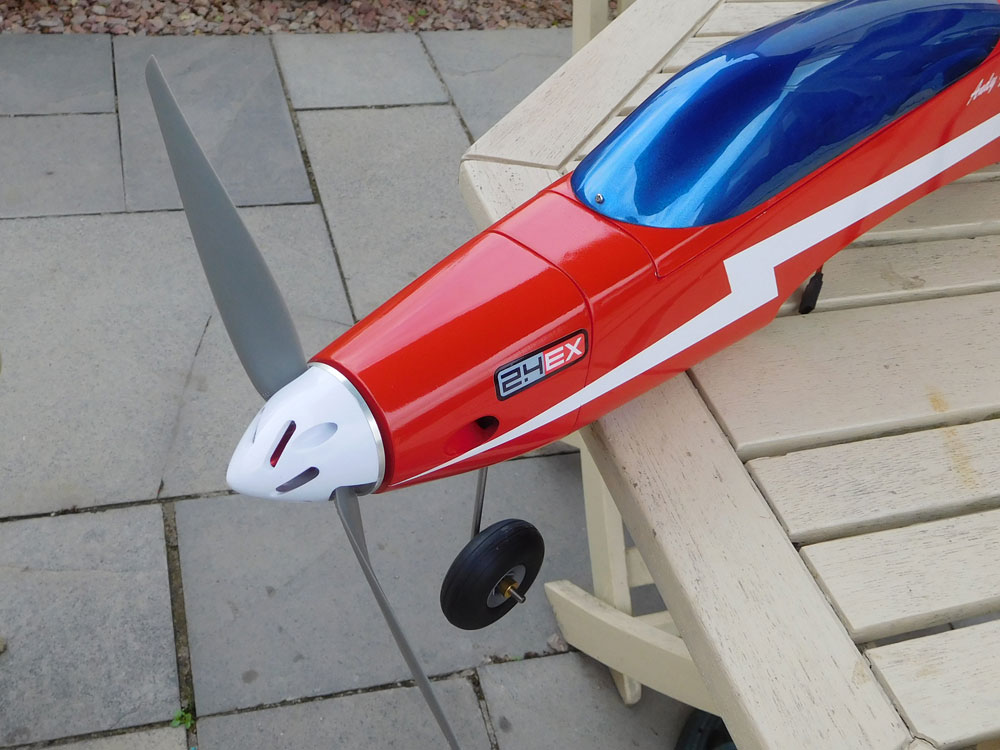
Views showing the receiver tray and rudder servo mounting and the 4S battery sat atop the ESC. Vented spinner to help cooling.
21. Complete model

View Details

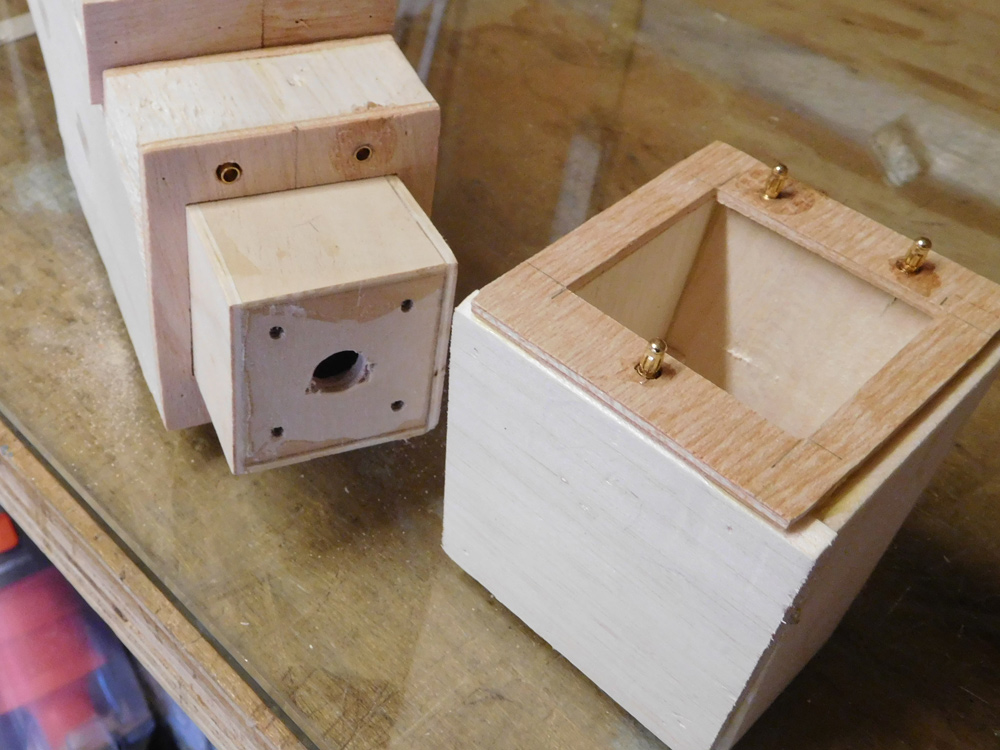
View Details
View Details
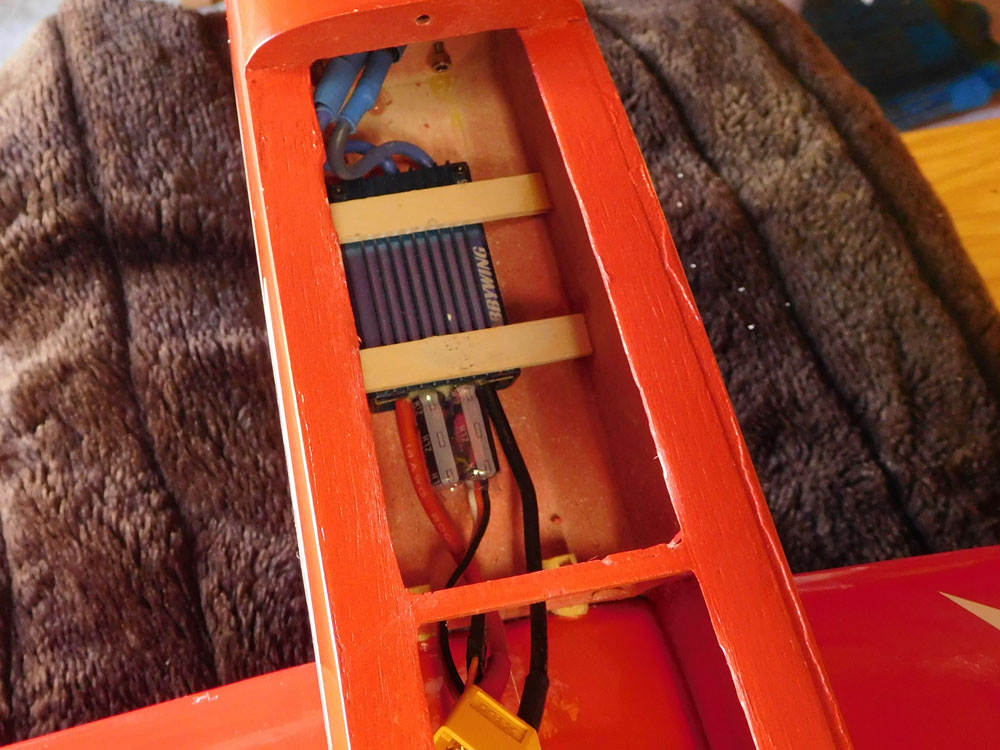
Some details, ESC position 60A Hobbywing, tail details and canopy fitting.
20. Fuselage covering

View Details

View Details
View Details
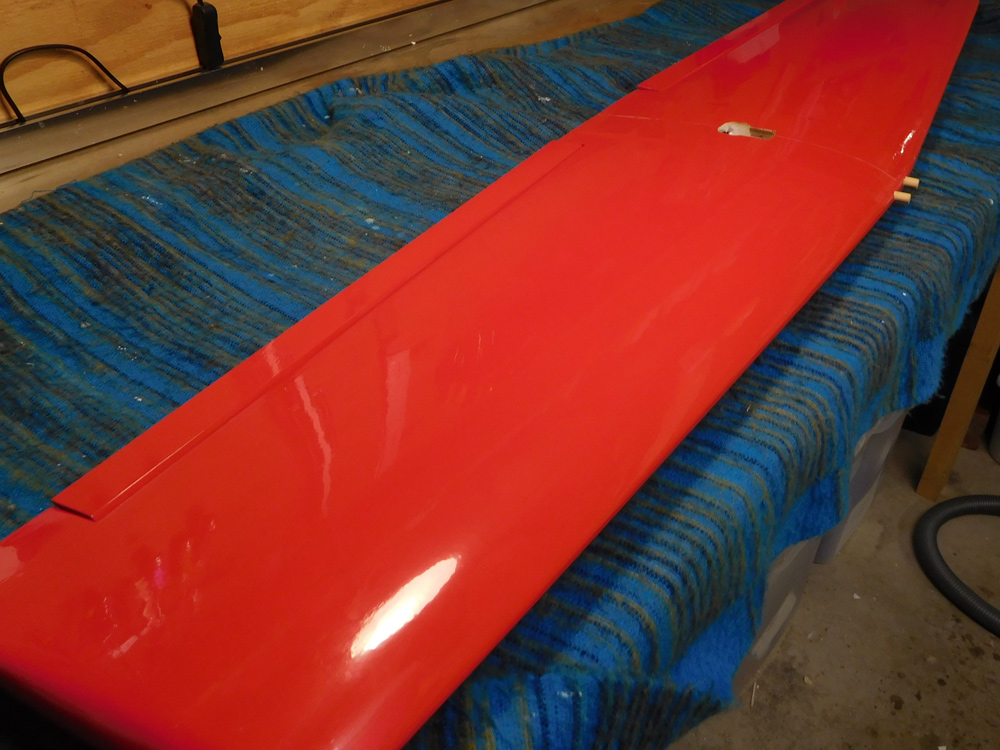
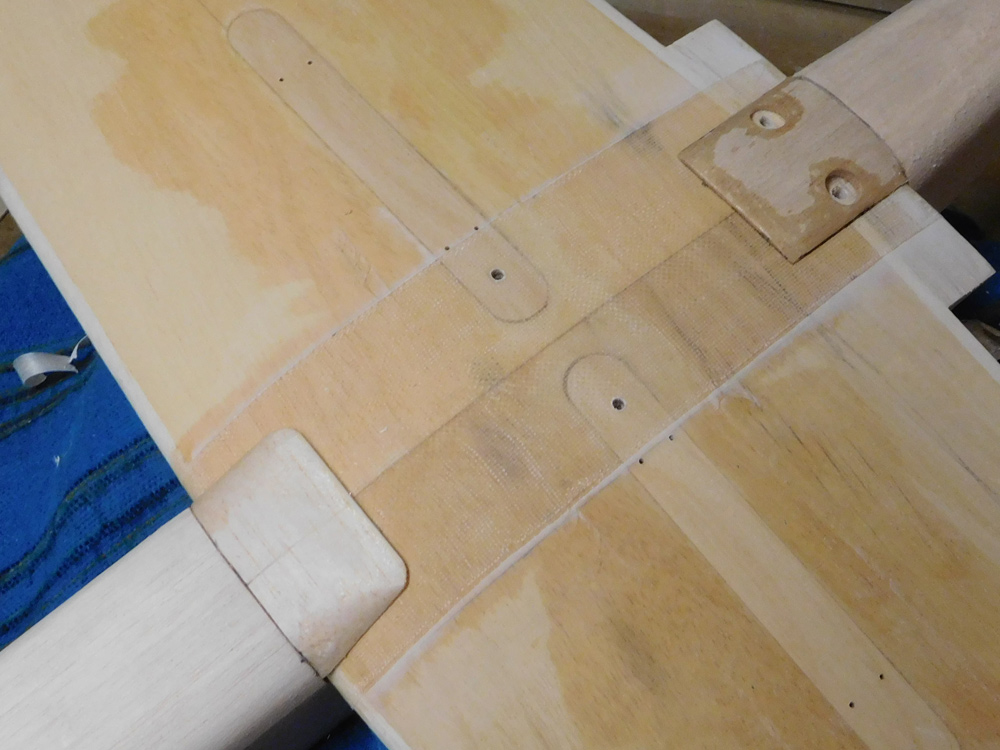
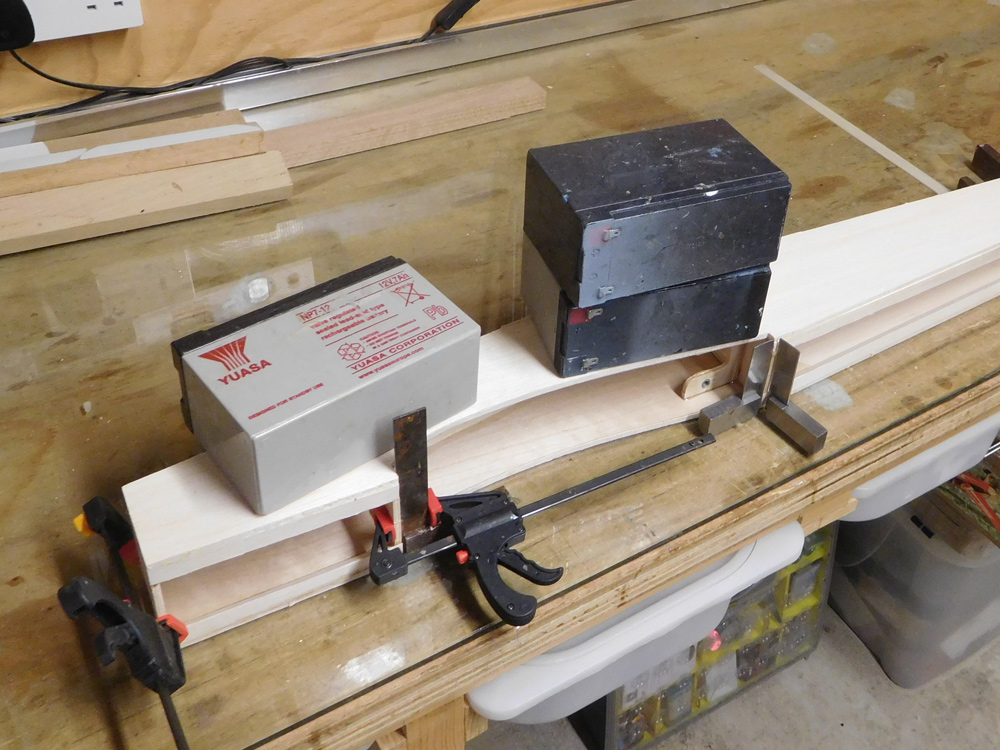
Big step forward here, wing covered in red Hobbyking film, fuselage primed / filled and sprayed with Spectrum red rattle can red. White trims are cut vinyl. Holes in the motor mount to aid airflow, and unseen are the lower holes for the motor wires. Wing servos are HiTec HS5245, Elevator is a Radient RDNA0079 sounds a bit rough but I'm told they are OK & Rudder is a Corona 238MG - Have used these inthe past and are pretty good (to date).
19. Wing fairings
View Details
View Details

View Details
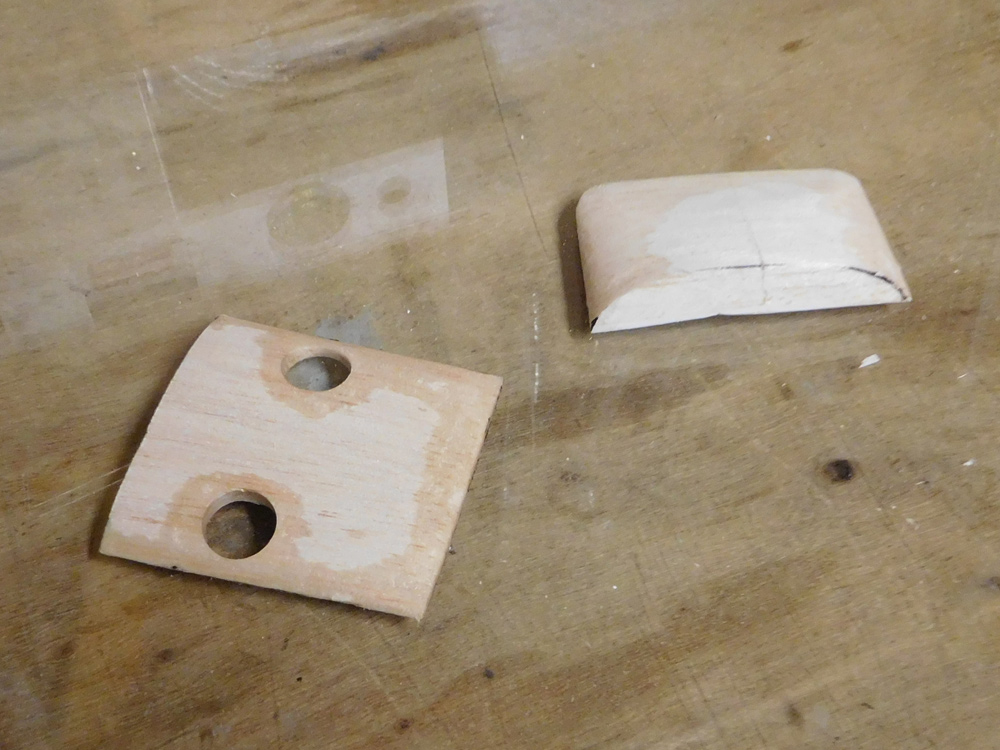
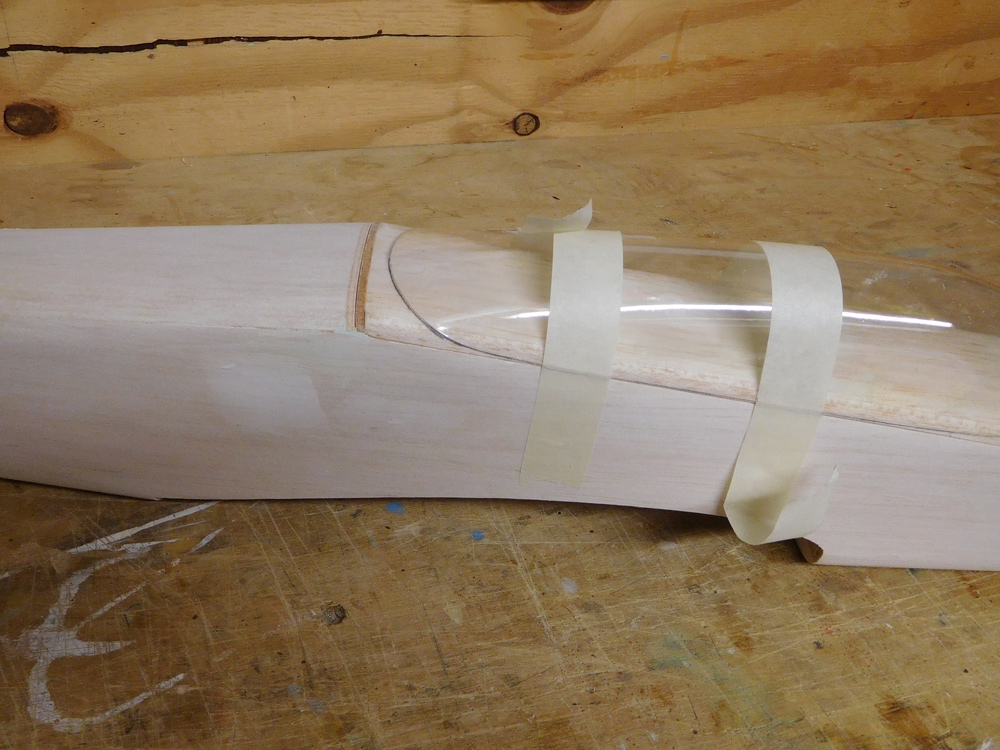
Wing fairings from blocks, these are a real pain to make, and no tips just slow and steady. Where the wood becomes quite thin I used thin cyano to harden. Fuselage, removable canopy & nose and fairings glassed.
18. Removable top section

View Details

View Details

View Details
Battery hatch will be retained by using a 1/4 turn quick release. The canopy will have to be trimmed to allow for clearance.
17. Removable top section

View Details

View Details
Front pin in place ready for gluing. And a start of the glasing of the fuselage.
16. Shaping & pre assembly
View Details

View Details
View Details
I have lost the step where the canopy sits, this is to make it easier to create the removable top section for battery access. Thats my excuse anyway.
15. Shaping

View Details

View Details
View Details
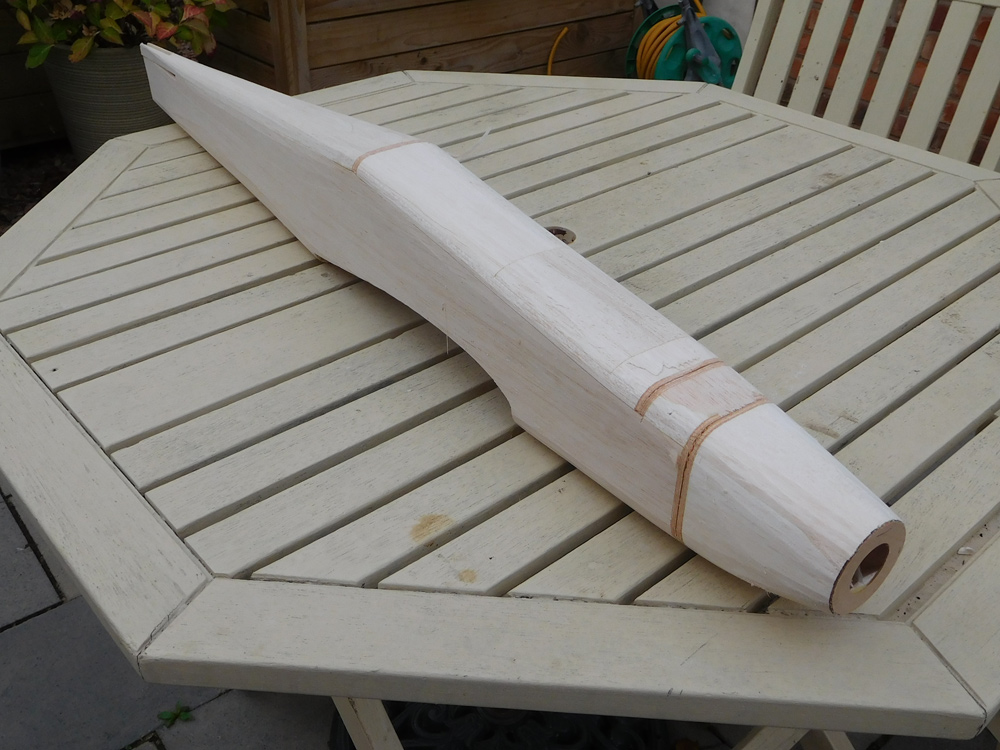
Ready for shaping - there is a Bullet in there somewhere. To accurately shape the fus I do it several passes. First is to square it all up, to easier take the same material off all sides. You can see the removeable section lite ply faces.
14. Removable nose
View Details

View Details

View Details
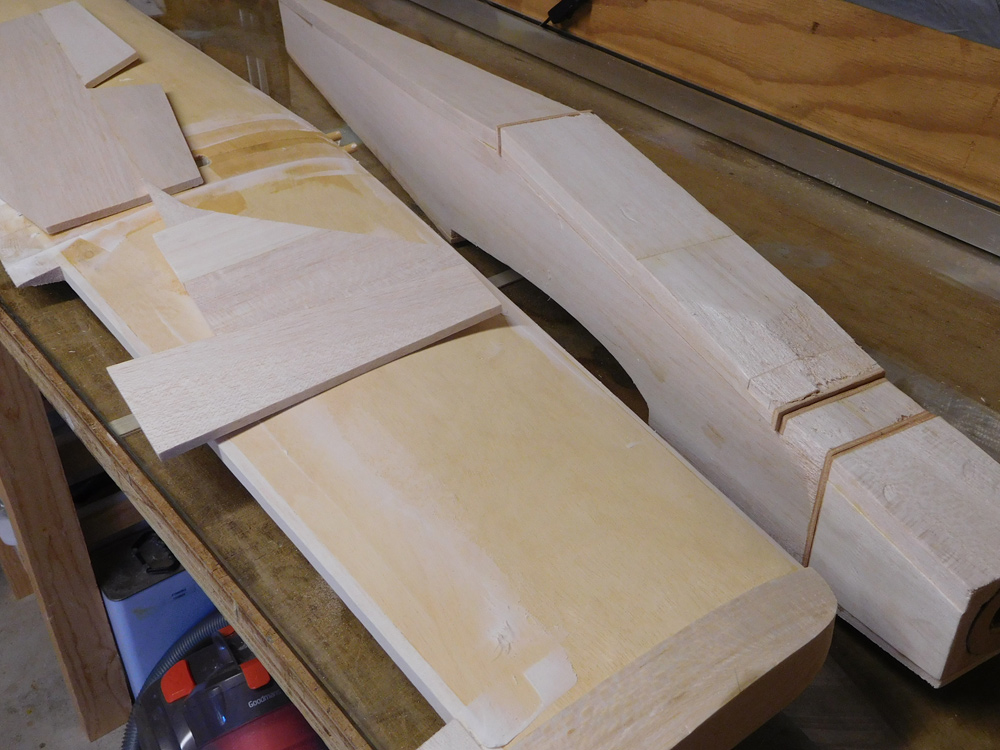
Nose blocked out, and fixing plugs glued in.
13. Removable nose
View Details
View Details
Nose block assembly, the red lines indicate no glue areas.
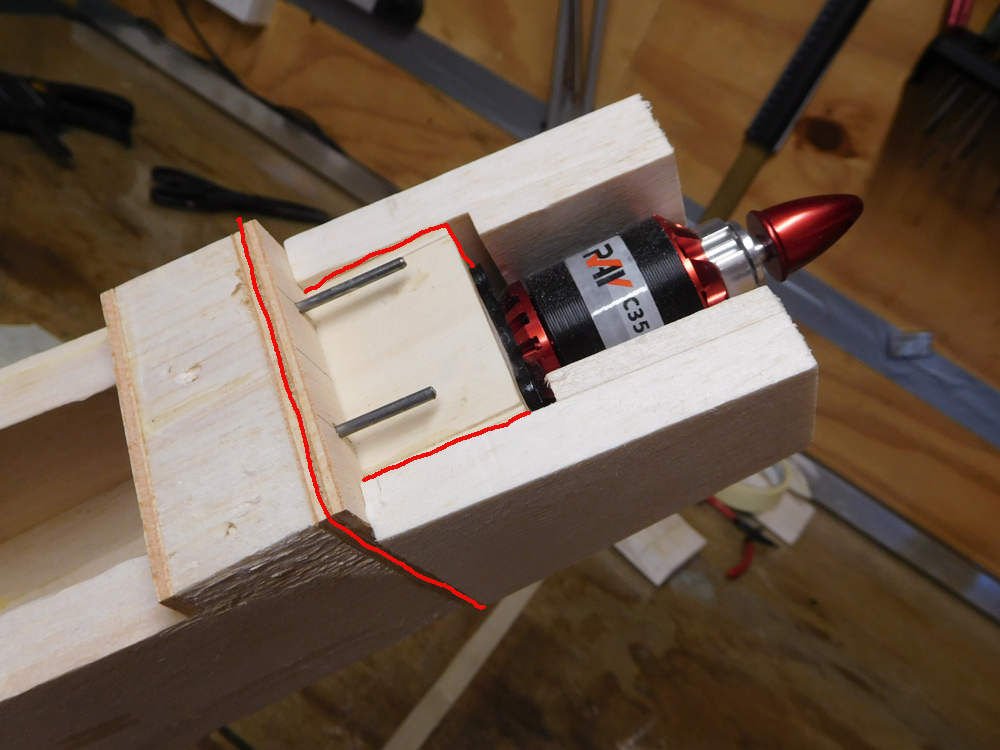
12. Removable nose

View Details

View Details

View Details
Ply hard faces and the removable nose. The pins are the center for the 3mm electric connectors use to hold the nose in place.
11. Electric conversion

View Details
View Details

View Details
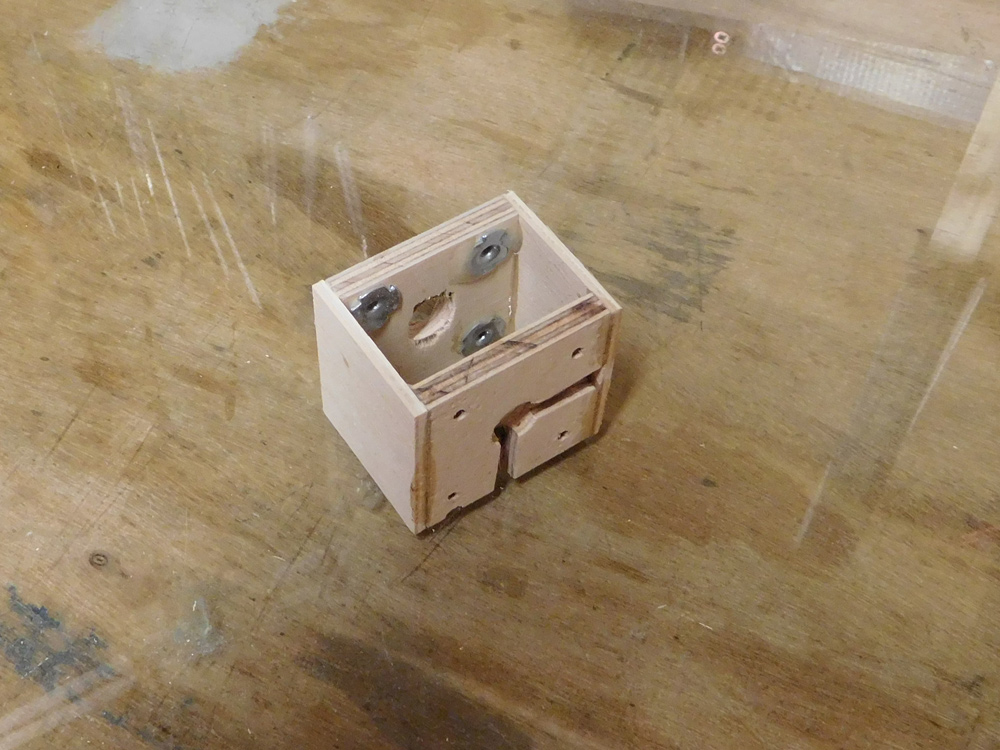
Ply motor mount assebled with captive nuts inside the box.
10. Electric conversion

View Details

View Details
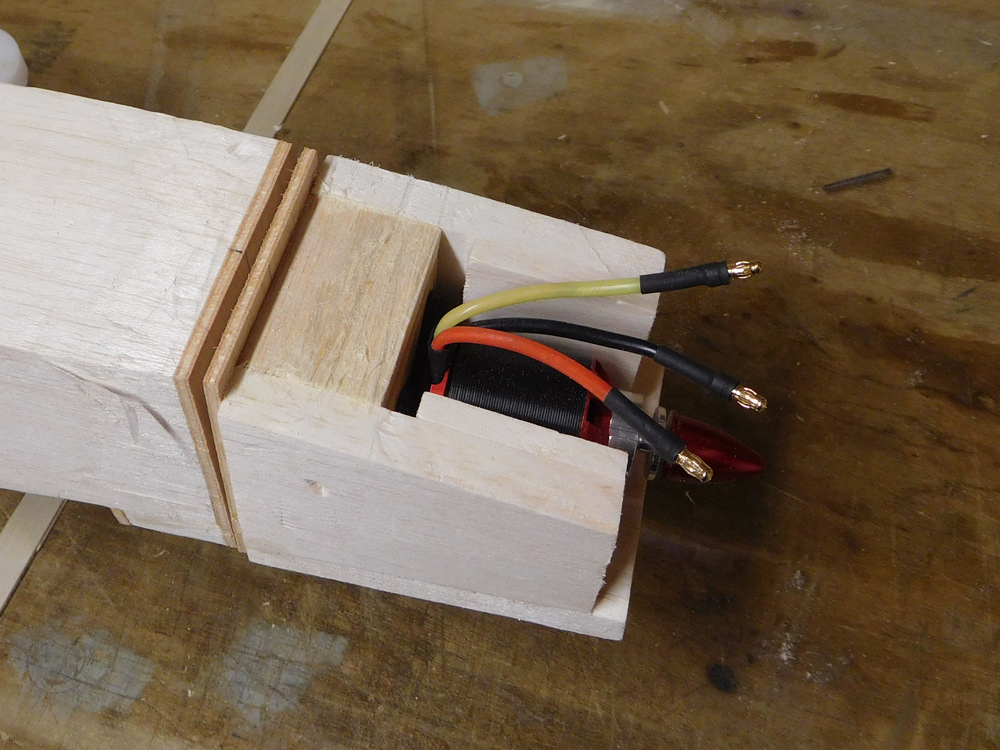
Electric motor RAY C3548/05) positioned against the front cheeks, and measured to get the size of the motor mount.
9. Wings

View Details
View Details
Positioned the wing accuratly in place, and square to the fus, was simple to spot through for the wing bolts and front dowels
8. Wings
View Details
View Details
View Details
Top undercarriage plate, sits under the balsa cappings, and the capping sanded flush with top of wing.
Bottom undercarriage plates in place and sanded flush, carefully. Centre section glassed with epoxy.
I also ran some 4oz cloth over the bottom undercarriage mounts to tie them to the veneer.
Bottom undercarriage plates in place and sanded flush, carefully. Centre section glassed with epoxy.
I also ran some 4oz cloth over the bottom undercarriage mounts to tie them to the veneer.
7. Modifications
View Details

View Details
View Details
A few of modifications, well it would have been rude not to.
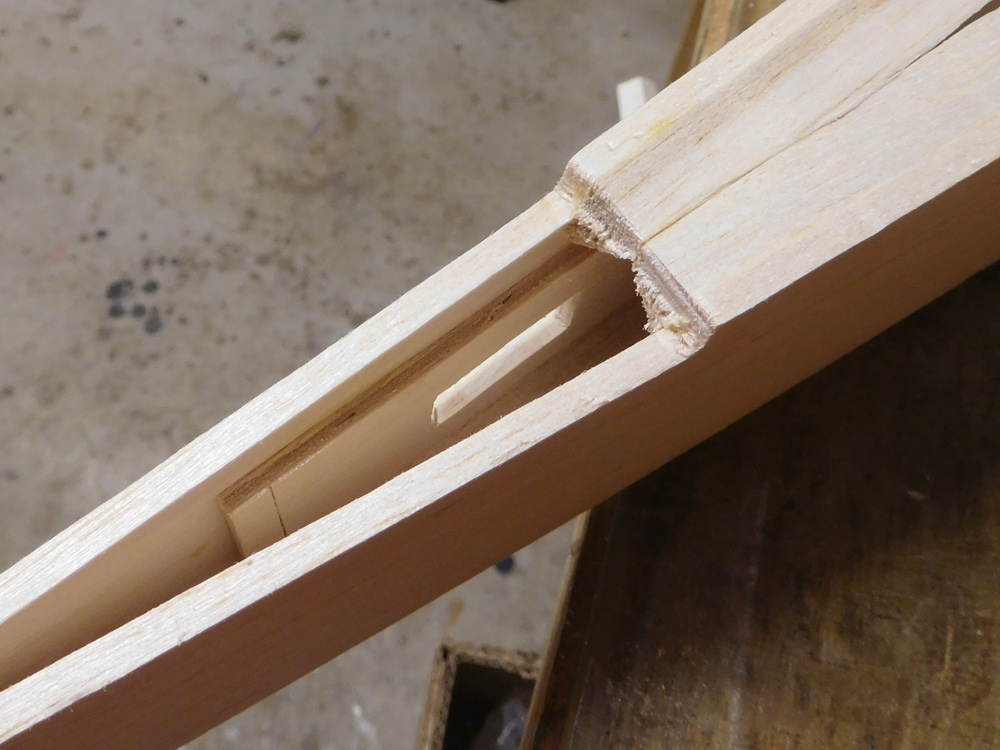
There was some spare ply from the sheets, so I doubled up the screw holes for the undercarriage mounts, to give more purchase for the screws.
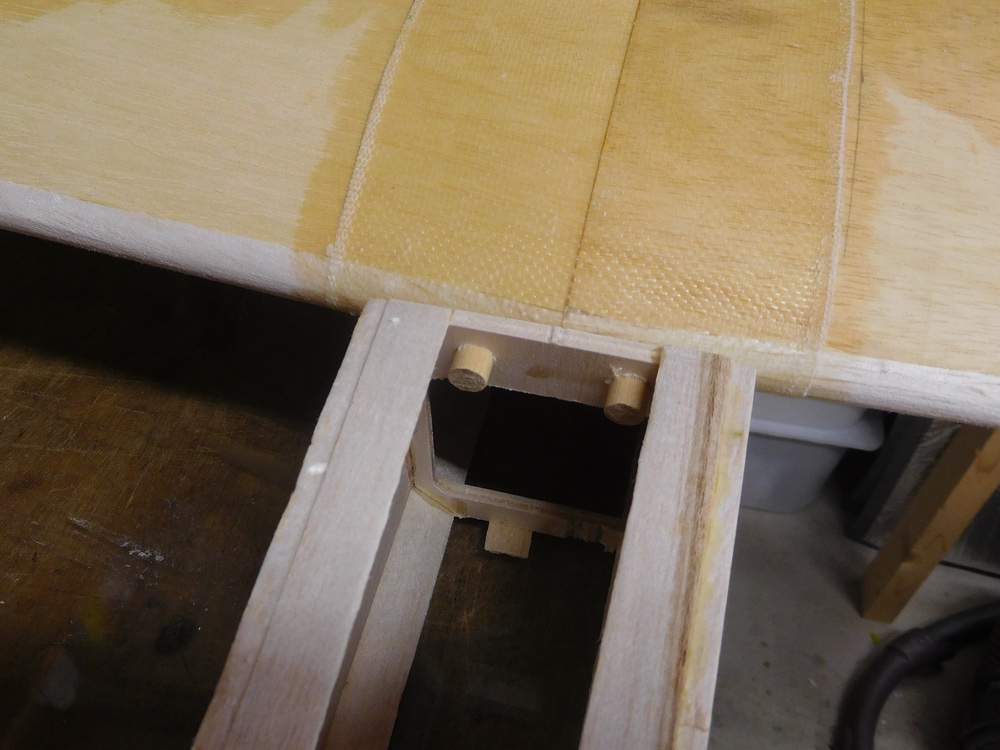
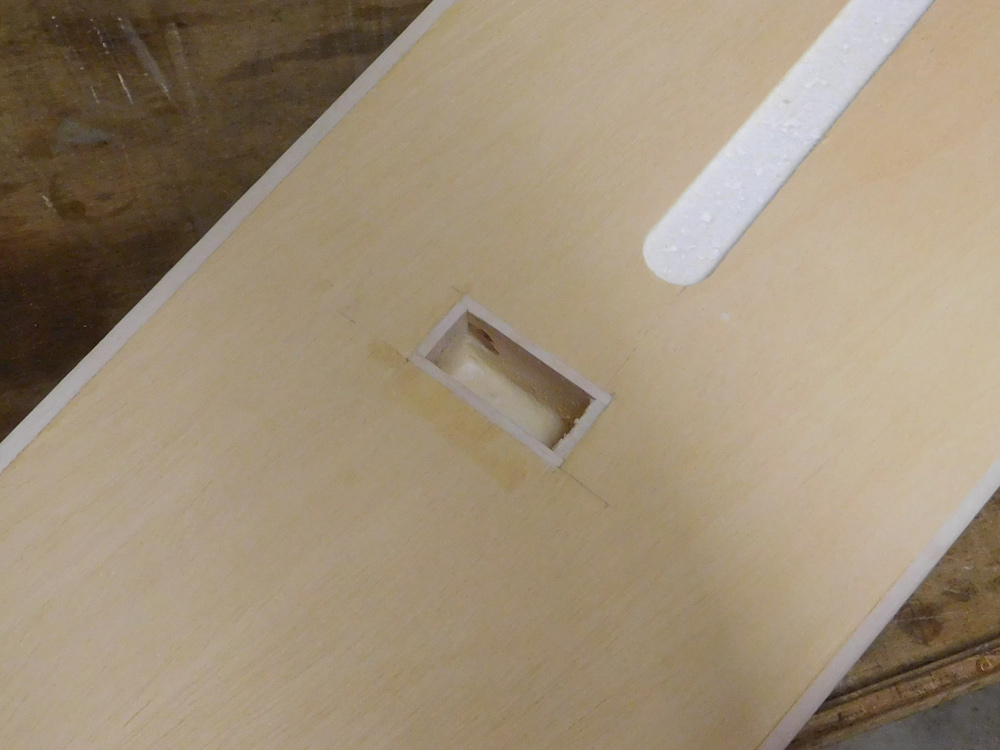
Also added servo boxes in each wing panel so I can use a servo for each aileron.
Added a ply doubler to fix a rear mounted elevator servo.
There was some spare ply from the sheets, so I doubled up the screw holes for the undercarriage mounts, to give more purchase for the screws.
Also added servo boxes in each wing panel so I can use a servo for each aileron.
Added a ply doubler to fix a rear mounted elevator servo.
6. Wing

View Details

View Details

View Details
LE & TE strip fitted, and my prefered method of joining wings, glue a spacer to give dihedral parallel to the tip chord, and hold these flat when joining the wing, and error in the panels will be at the centre. I needn't have worried, there was zero discepancy at the root. These are excllent panels.
5. Tail feathers

View Details

View Details

View Details
Tail feathers glued together and held flat, I glue the elevators and rudder with spots of glue so they can be sanded as one, and separated easily later.
4. Fuselage

View Details

View Details
Make life easier later on, leave the fuselage as is for now with access to the wing mount holes and wing dowels, when the wing is finished, it will be easy to spot through the holes without measuring.
3. Fuselage
View Details

View Details

View Details
I had to break the wing mount out to fit the doublers. (See below)
2. Fuselage
View Details

View Details

View Details
However it is possible to go wrong here, the marked wing retaining plate must not be added at 90 degrees to the other formers, there are 2 doubler plates that set this at an angle. See above. I had to break this apart to fit propperly.
No need to get the jig out, everything fits nicely at right angles, clampped until the epoxy dries.
No need to get the jig out, everything fits nicely at right angles, clampped until the epoxy dries.
1. Fuselage

View Details

View Details

View Details
I received no instuctions with the kit, but because it came second hand (for a good price) it may be that they were lost. There was a CD in the kit with build photos, so these were used for direction.
Fuselage sides made, can't really go wrong here.
Fuselage sides made, can't really go wrong here.